Online AI Image Upscaler
& Enhancer
Media.io Upscaler is an AI-powered photo tool for restoring, sharpening, and improving image clarity. Effortless online operation for super-resolution. Clear blurry photos anywhere, anytime.
![]() By uploading an image you agree to our Terms of Services.
By uploading an image you agree to our Terms of Services.

The Ultimate Image Upscaler for Every Detail
Elevate your images to new heights with our powerful image enhancer. In just one click, you can upscale images,
enhance clarity, and increase resolution, all while bringing out minor details that might have been missed.
You might be interested in AI transforming Midjourney images into higher resolution.
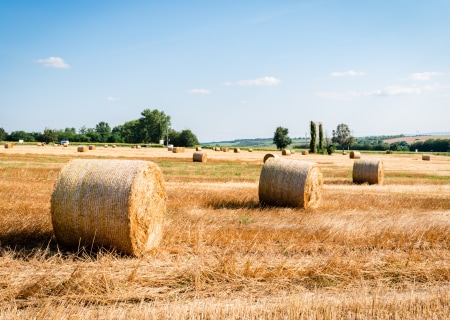

Upscale images with its original quality. Support enlarging by 2X, 4X and 8X.
Make blurry portraits, low-light or low-quality pictures clear and crisp online.
Intelligently reduce image noise, enhance low light, and improve blurry image quality.
Use AI technology to colorize B&W photos, restore old, damaged photos and to improve their clarity.
Flawlessly brighten image, deblur, denoise, and enhance every intricate detail of your portraits in just 1 Tap! [Newly Released AI]
Automatically adjust picture colors to make them look sharp and clear.
How to Upscale an Image to Improve Its Quality
Media.io employs advanced AI technology to enhance images, preserving every detail while avoiding any loss in quality.
Our image enhancement tool can tackle any issue you may have with the size, resolution, or color of pictures.


Import the Unprocessed Image
Upload the image you want to upscale & enhance. Keep the image size at 10 MB in JPG, BMP, JPEG, or PNG format.
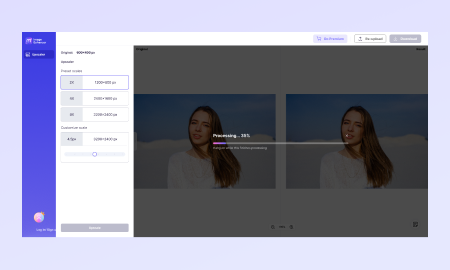
Upscale Image with AI
Select the type of image quality enhancement you want and click on the corresponding operation button.
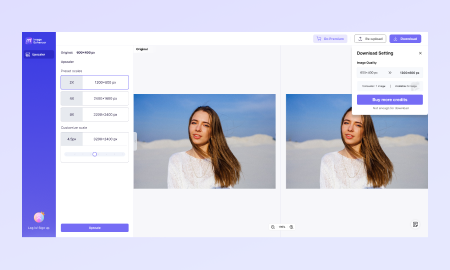
Download High-Quality Images
You can preview it after the processing ends. Then, click Download to save your enlarged image in high-resolution.
Import the Unprocessed Image
Upload the image you want to upscale & enhance. Keep the image size at 10 MB in JPG, BMP, JPEG, or PNG format.
Upscale Image with AI
Select the type of image quality enhancement you want and click on the corresponding operation button.
Download High-Quality Images
You can preview it after the processing ends. Then, click Download to save your enlarged image in high-resolution.
What Surprises Await with Clear Photos Processed by Media.io?
The pro-level image quality enhancer with 6 AI models is available to sharpen images and improve photo resolution.


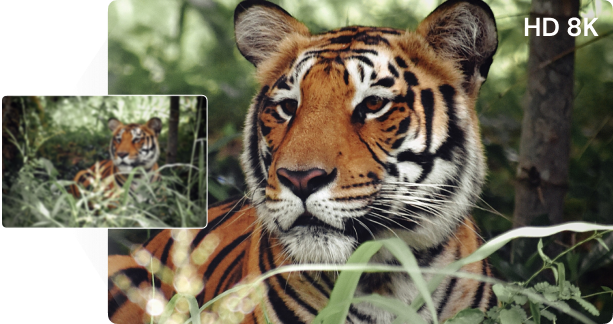
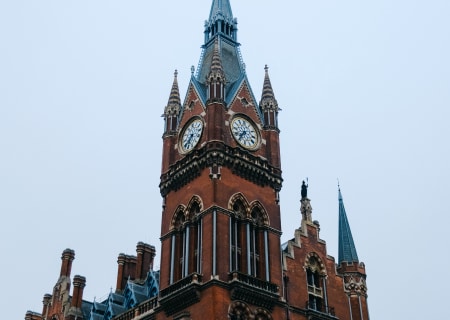
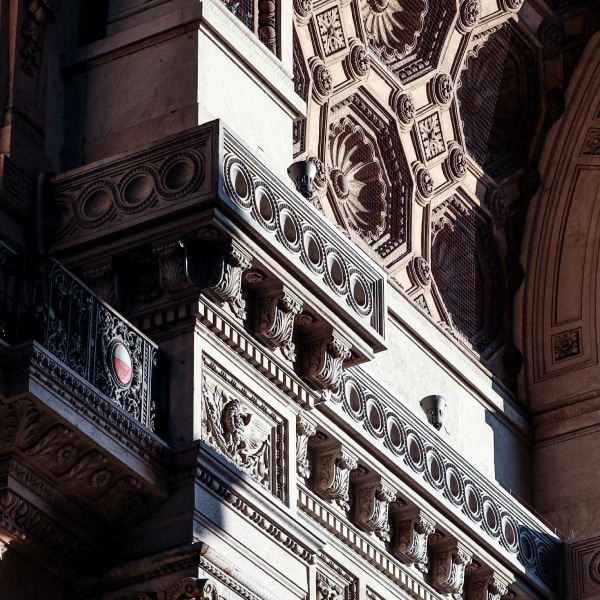
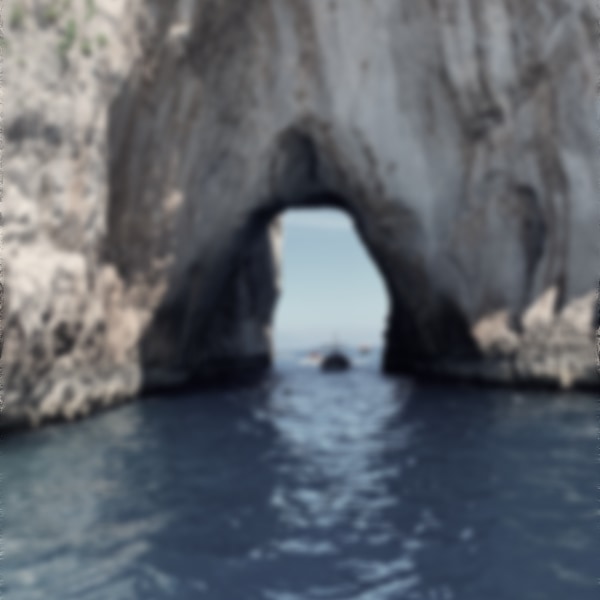
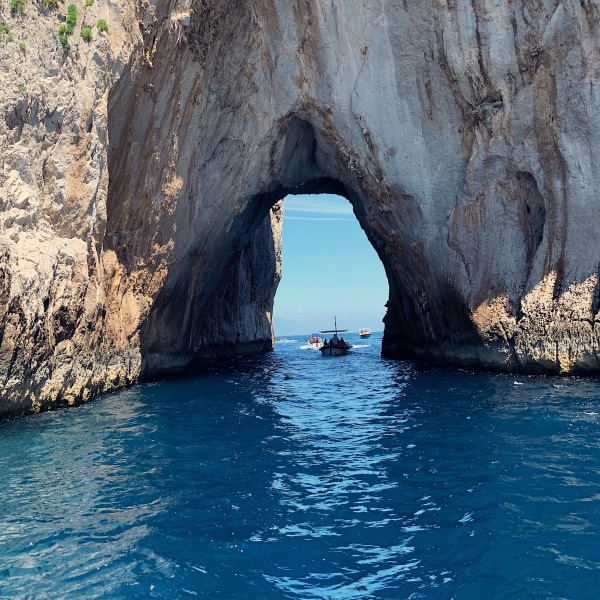
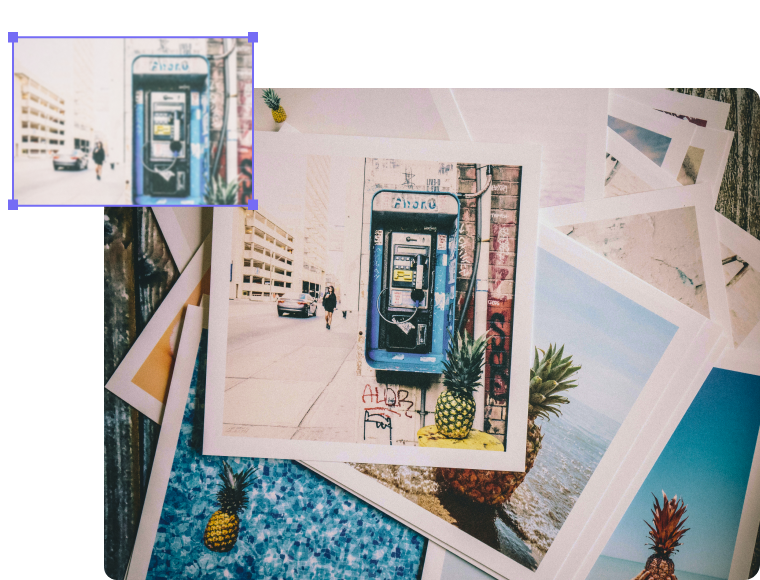
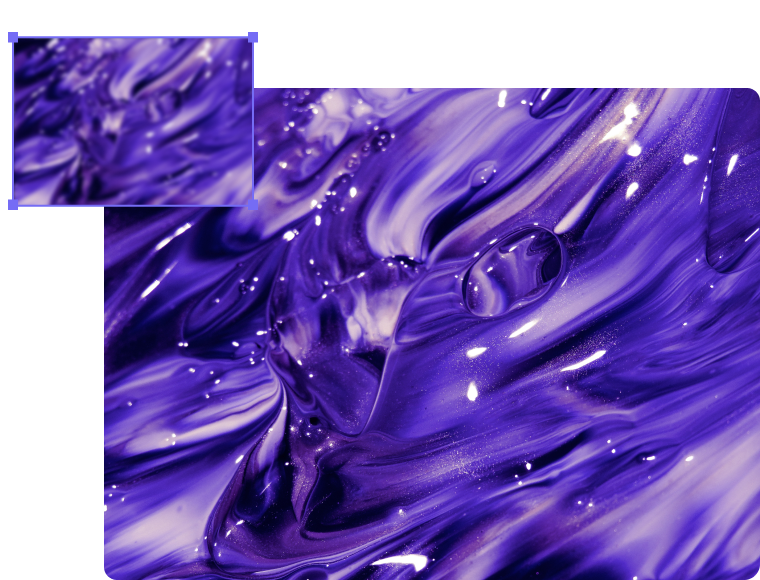
Enlarge Images by Up to 8X Without Quality Loss
Media.io AI Image Upscaler enables you to easily enlarge your photos by 200%, 400%, or even 800% losslessly. It can also enhance various types of photos, including product shots, hazy landscape images, group photos, selfies, or vintage photos to achieve ideal proportions and crystal-clear clarity.
 Without AI Image Upscaler
 Original
With Media.io AI Image Upscaler
Original
With Media.io AI Image Upscaler
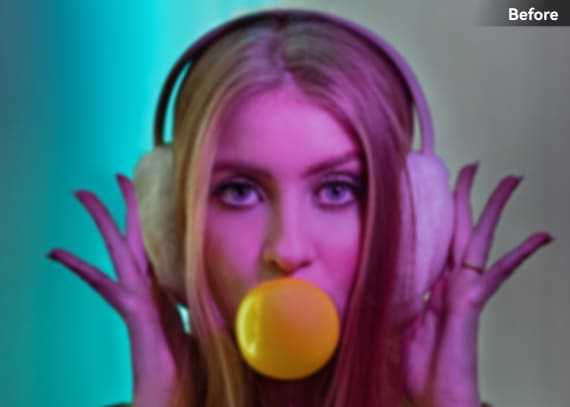
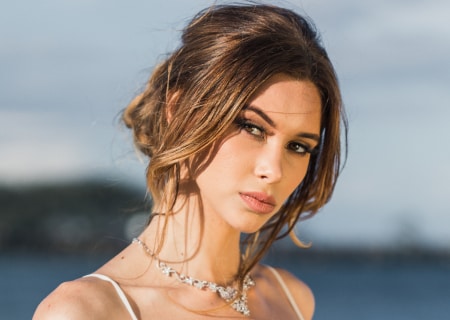
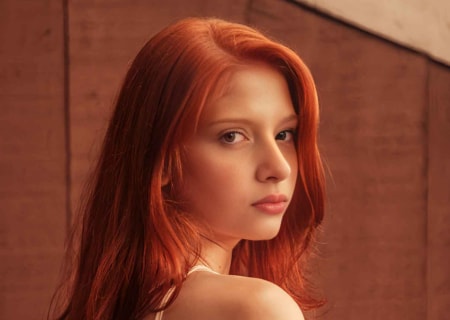
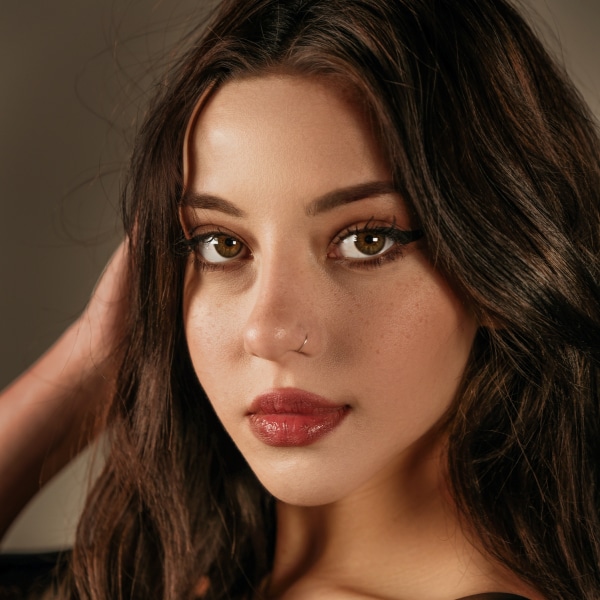
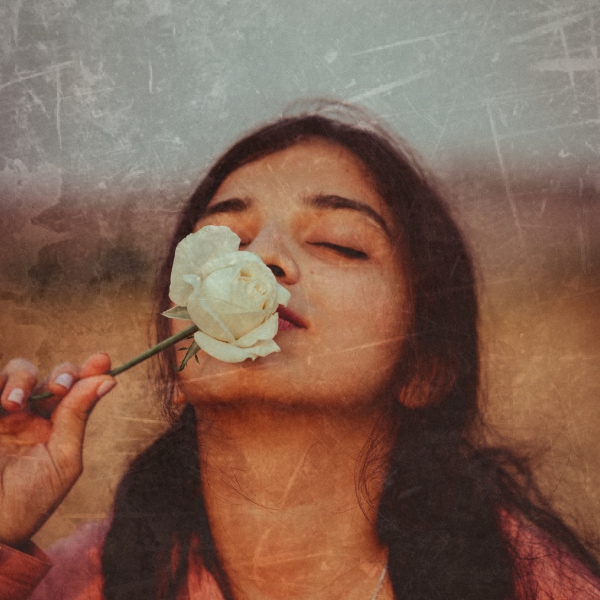
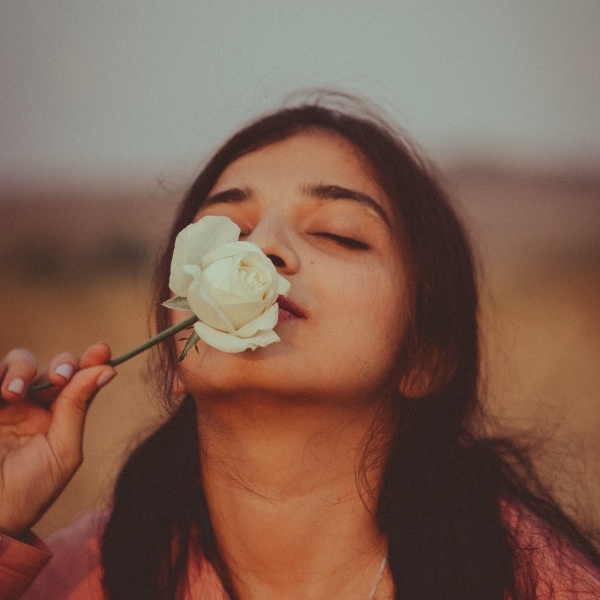
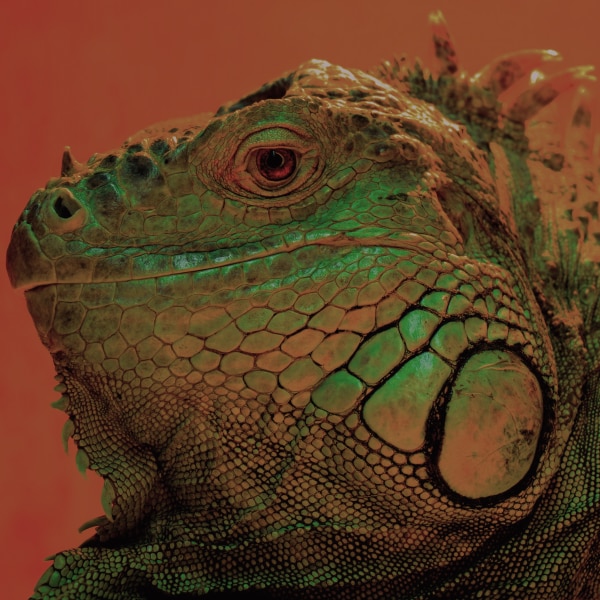
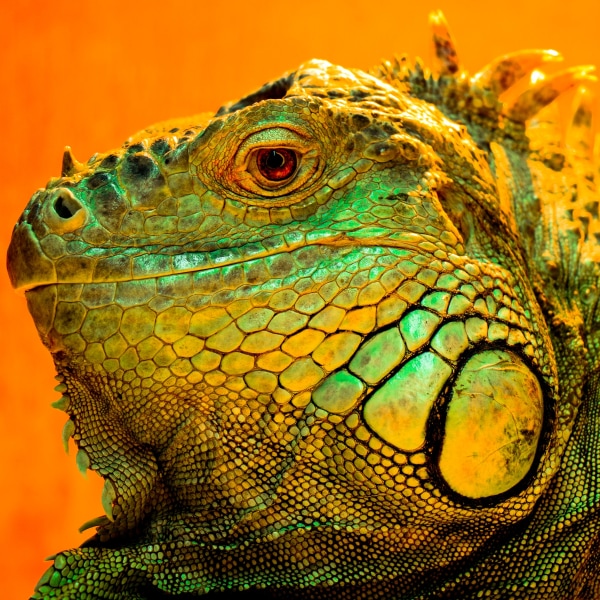
Superb Portrait Enhancement for Retouching Every Detail
Transform your portraits into stunning works of art with our professional retouching tool. Utilizing cutting-edge AI technology, we employ advanced face enhancement techniques that bring clarity and beauty to even the most underexposed or blurry images, producing flawless portraits within seconds.
 Without AI Portrait Enhancer
 Original
With Media.io AI Portrait Enhancer
Original
With Media.io AI Portrait Enhancer
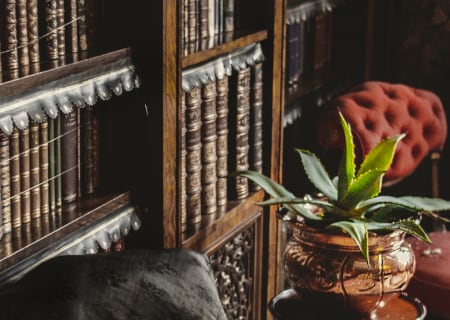
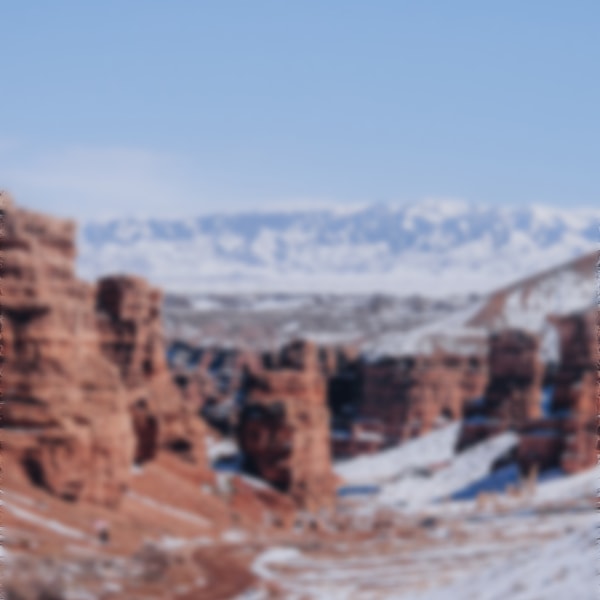
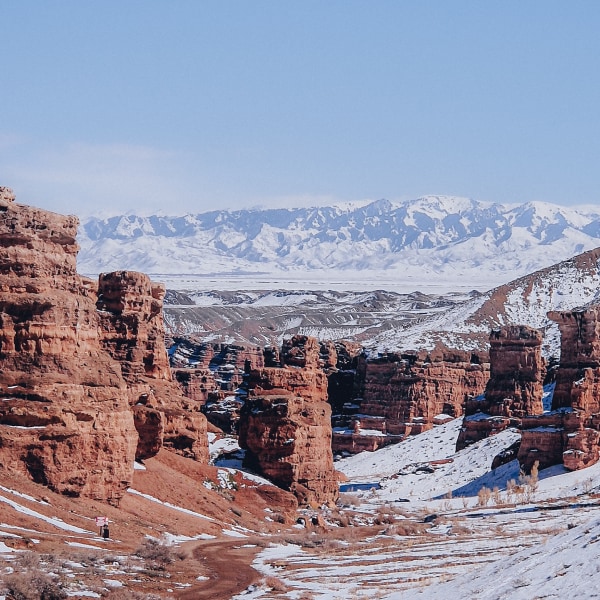
Instantly Enhance the Clarity of a Blurry Picture
Have you ever captured a perfect moment only to find the resulting picture blurry or out of focus? Don't let a lack of clarity spoil your treasured memories. Our unblur image tool empowers you to restore the sharpness and definition of your images. With 1 tap, you can make your blurry pictures clear instantly!
 Without AI Image Sharpener
 Original
With Media.io AI Image Sharpener
Original
With Media.io AI Image Sharpener
Breathe New Life into Old Photos with Our Photo Restoration
Photo restoration is an art form that involves revitalizing old and damaged photographs using digital tools. With a non-gated process, you can repair scratches, blemishes, dust, and fading while also restoring the image's original colors. Preserve your memories and give your old photos a new lease on life.
 Without AI Photo Restorer
 Original
With Media.io AI Photo Restorer
Original
With Media.io AI Photo Restorer
Add a Splash of Life to Black and White Photos
Colorizing black and white photos can breathe new life into them, revealing depth and detail that was once hidden. Likewise, adding color to a monochrome image can make it more impactful, providing a visual testament to a moment to cherish. So, create a unique and timeless piece of art right now!
 Without AI Image Colorizer
 Original
With Media.io AI Image Colorizer
Original
With Media.io AI Image Colorizer
Boost Your Photos' Color Effects for a Stunning Result
AI Image Enhancer utilizes AI contrast enhancement technology to optimize photo color. With AI Image Enhancer, you can quickly restore dark colors and enhance lighting and contrast without requiring specialized editing skills. Instead, upload your photo, and let the AI robot do the rest of the work for you!
 Without AI Color Correction
 Original
With Media.io AI Color Correction
Original
With Media.io AI Color Correction
Image Enhancement Is for Everyone
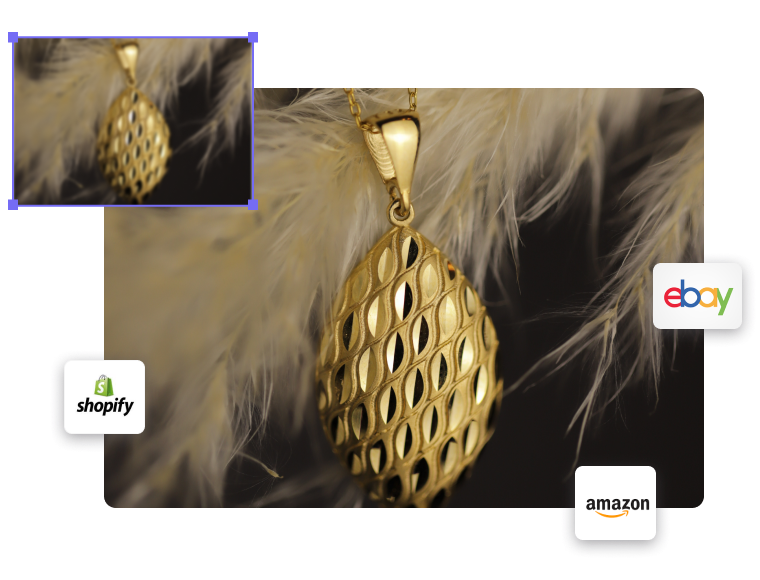
AI Enlarge Images for Ecommerce
The Media.io AI Image Upscaler is perfect for your e-commerce business. You can make product photographs, billboards, or banners with low resolution larger and clearer. It can help you attract more audience and increase your conversion rate on e-commerce platforms.
Better Quality for Your Digital Arts
Take your artwork to the next level to explore more opportunities. With Media.io Image Enlarger, you can enhance digital art by improving picture quality so you can print them in any format.
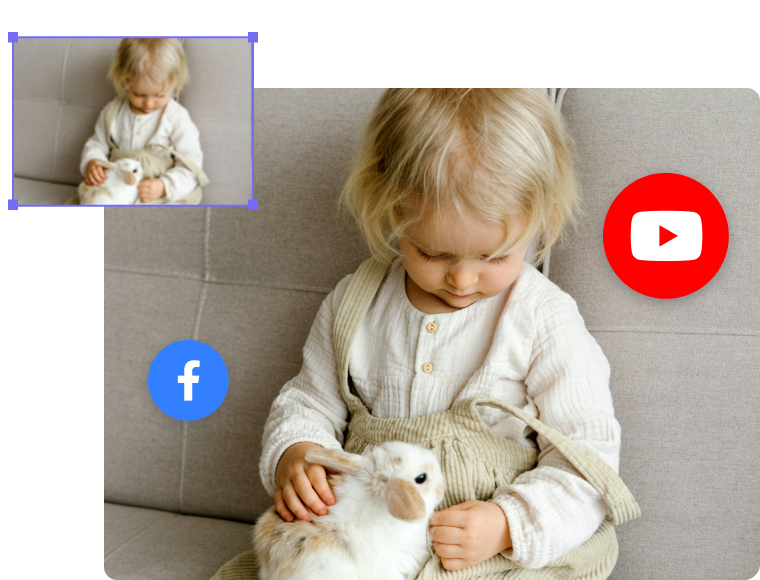
Stand Out on Your Social Media
We specialize in improving the overall look of photos taken on a phone, making them more visually appealing and shareable on popular social media platforms such as Facebook, Instagram, Twitter, and more.
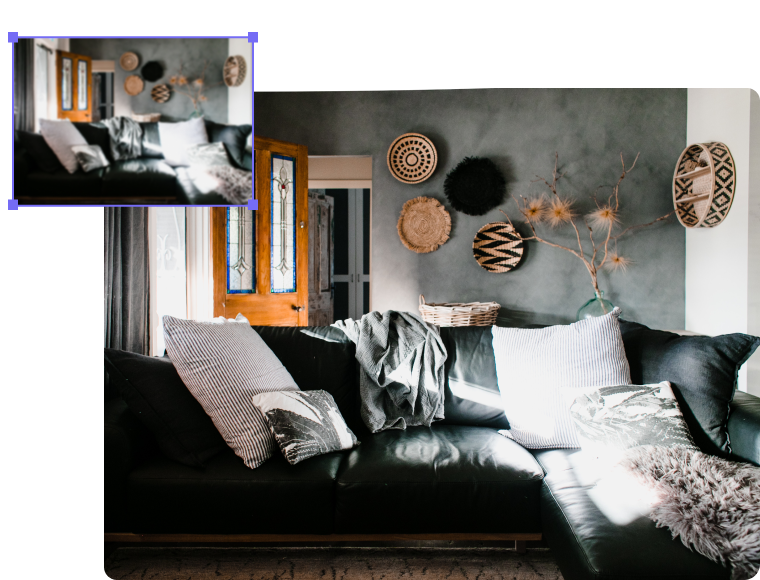
Perfect Solution for Real-estate
We all know the importance of quality pictures for the real-estate business. Media.io Online Image Enhancer can help you provide quality images by multiplying pixels.
AI Enlarge Images for Printing
Media.io AI Image Upscaler is an innovative AI upscaling solution that improves printing experiences. Simply increase the resolutions of your illustrations, photos, or posters to get great printing results.
What Makes Media.io AI Image Upscaler Unique?

Instant and Automatic Enhancement
Images are upscaled automatically with AI in just a few seconds. You can instantly increase a picture's size and resolution with minimal effort.

Enhance Images
Without Losing Quality
Improve the quality of your images while preserving every detail of the original photo and ensuring consistent high-quality results.

Upscale and Enhance Blurry Images Easily
Enhance the quality of the blurry and compressed photos after upscaling. Reduce the image noise, fix blurriness, recover details and textures and restore old photos.

Upscale Image
Anywhere, Any Time
Easily improve image quality from any browser with a robust internet connection on any device. You don't have to waste RAM or time downloading software.
Any Question? We Answered!
What is an Image Enhancer?
Media.io image enhancer is a versatile online tool that can be used to improve the quality of an image and add color to black-and-white photos. The Image Enhancer can fix common issues such as blurriness, low contrast, and poor lighting and can be particularly useful in old photo restoration.
What file formats are supported in Media.io AI Image Upscaler?
JPG, BMP, JPEG, and PNG file formats are supported. However, we recommend you keep the file size below 10MB and the resolution below 4000*4000 when using the Image Upscaler. For other enhancement tools, the maximum supported image size is 25MB with a resolution below 6000*6000. The file format of the downloaded file after processing will be the same as the uploaded file.
How to restore old photos?
You can upload your old, damaged photos to Media.io's image enhancer, which uses automatic photo restoration and colorization algorithms to enhance your images. It can make your photos look more precise and vivid by repairing any damage and adjusting colors and contrast.
Will enhancing the image alter its size?
Yes, it'll enlarge the dimensions of the photo. It'll also increase the file size. This is because AI Image Enhancer will add more pixels and information to the original photos for denoising. This means the resulting photo may get bigger.
How to unblur an image?
There are several ways to remove blur from an image, and one of the easiest ways is using Media.io Image Upscaler. After uploading the Image, you can then upscale the Image 2x, 4x, or 8x to preview the result. It will turn a blurred image into a crisp and clear picture.
What's the difference between Media.io Image Upscaler and Photoshop?
Photoshop is a powerful desktop graphics editor for professionals. It provides advanced features for photographers and many design tools. Upscaling Image is one of the features in PS but the processing time may be long.
There are a variety of online picture enhancers in the market which can be great alternatives to Photoshop, so you don't have to spend time trying to master Photoshop abilities. Media.io Image Enlarger features intuitive interface, making it a simple and affordable image upscaler you won't want to miss.
What Do People Say about Media.io
AI Online Image Enhancer


The last thing I want is seeing advertisements while using an online tool for fixing my photos. And with Media.io Image Enhancer, I don't have to worry about that. If I have to recommend one tool to my colleagues, Media.io AI-Powered Image Enhancer is the tool I have been looking for!

I was happy when I found out the tool is available online. I don't have to download any third-party software to enhance image resolution. With Media.io Online AI Image Enhancer, improving picture quality is a breeze!

For a web designer like me, Media.io's Image Enhancer is truly a lifesaving tool! Why? Fixing blurry pictures is no longer a time-consuming task and the tool is even free! What's more I can ask for!
The last thing I want is seeing advertisements while using an online tool for fixing my photos. And with Media.io Image Enhancer, I don't have to worry about that. If I have to recommend one tool to my colleagues, Media.io AI-Powered Image Enhancer is the tool I have been looking for!
I was happy when I found out the tool is available online. I don't have to download any third-party software to enhance image resolution. With Media.io Online AI Image Enhancer, improving picture quality is a breeze!
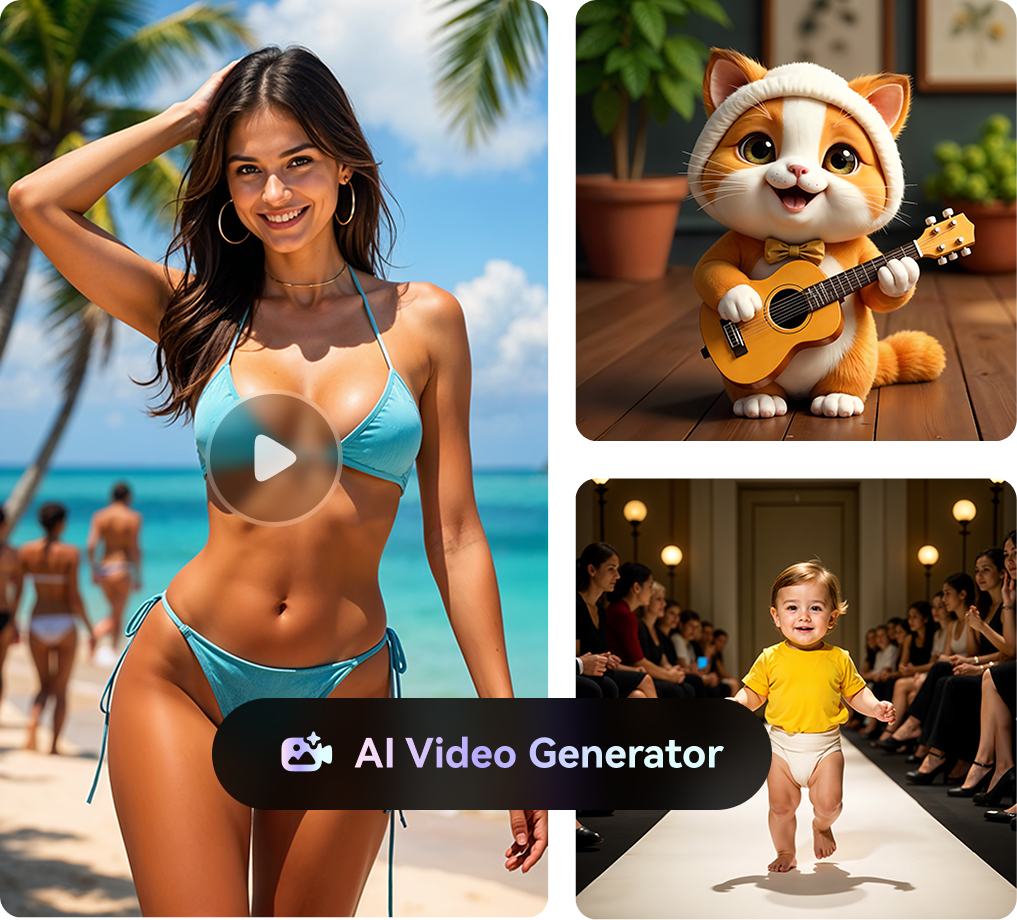
More AI Products from Media.io
Enhance Image in Media.io
See More in Vivid Detail