Watermark Remover
Remove watermarks from videos or images easily with smart AI. Elevate your visual content while preserving excellent quality.


Delete Watermarks & Logos from Video in a Snap
How to Remove Watermark from Video Online?
-
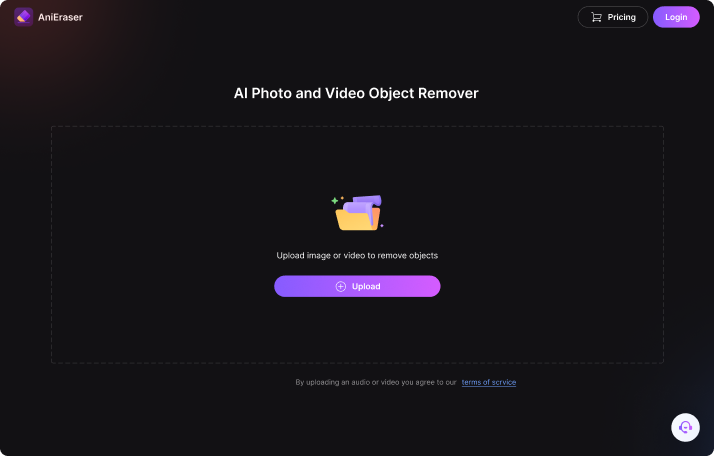
 Step 1: Upload VideoDrag and drop your file onto the page or click “Upload” to select a video from your device. Note that supported video formats include MP4, MOV, M4V, and 3GP.
 -
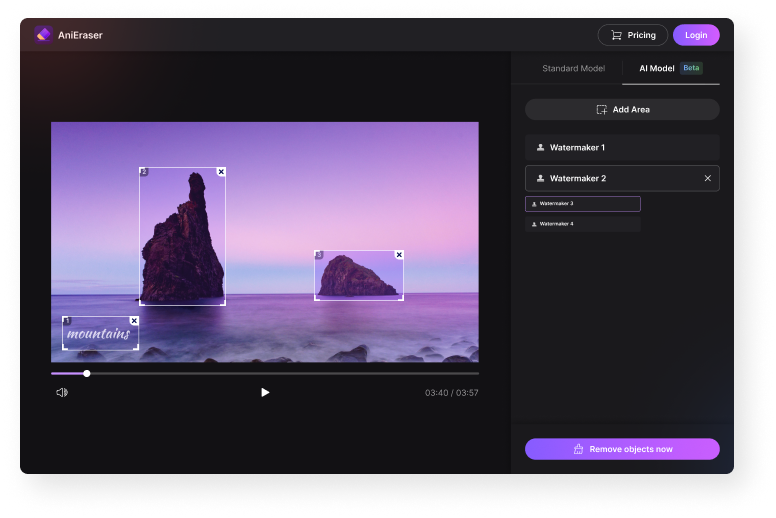
 Step 2: Remove WatermarksSelect one or multiple areas that contain unwanted watermarks, logos, or trademarks with the virtual brush, the size of which is adjustable. Then click "Remove" to get rid of them.
 -
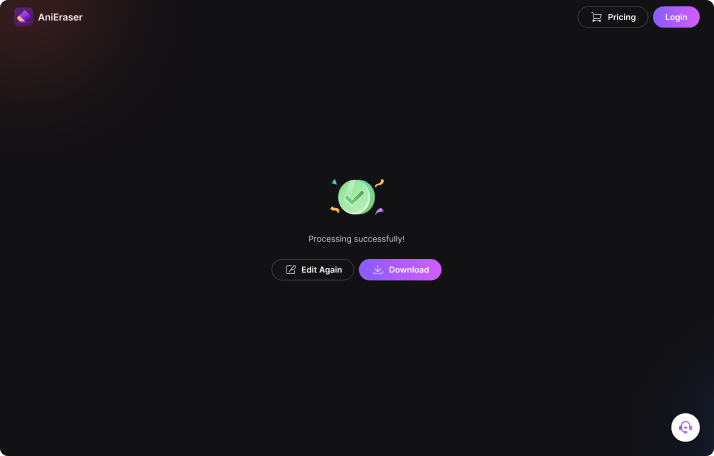
 Step 3: Export Your FileClick “Download” to export the videos without watermarks. The default output format is MP4. If you need other formats, try our online video and image converter for free! If you require a smaller size, please try our online video compression service!
Why Choose Media.io Online Watermark Remover?

Easy to Use

Any Watermark Supported

Cross-platform tool

All-round Video Formats

Ads-free & Privacy Guaranteed

Powerful Video Editor

Video Watermark Remover
-
?
1. How to remove logo from a video in HD?
Logos are usually used to brand a video. Creators use them to create copyrighted videos for school presentations, family events, and more. However, sometimes you may want to remove a distractive logo from the video. In that case, use Media.io Online Watermark Remover to remove the logo without leaving behind any blur. Just upload the video on the Watermark Remover tool, select the logo area, and start removing.
-
?
2. How to remove a TikTok watermark online?
Utilize the Media.io TikTok watermark remover to eliminate watermarks from your TikTok videos. It accurately scans and removes the bouncing "TikTok" logo from your video without blur. Alternatively, you can download a TikTok video without a watermark by simply uploading the TikTok video URL.
-
?
3. How to remove text from a video?
Text watermarks are often used in videos to claim ownership, featuring details like the creation date, creator's name, brand, etc. However, poorly placed watermarks can distract viewers from the video's main content. To easily remove text from videos, try Media.io Online AI Watermark Remover. It's simple to use and effectively eliminates watermarks. Just upload your video, select the text watermark, and erase it!
-
?
4. Can I remove a moving watermark from video?
Yes! With Media.io AI video watermark remover, you can edit out any floating text or image watermark from video in just a single click.
-
?
5. How to remove transparent or semi-transparent watermarks from videos?
Step 1. Visit Media.io's AI watermark remover and upload the video from which you wish to remove the transparent or semi-transparent watermark.
Step 2. Mark the watermarks and wait for a few seconds while Media.io's AI works to remove the watermark with precision.
Step 3. Download the video with the erased watermark by selecting the Download Image option. -
?
6. Why Millions Choose Media.io Free Watermark Remover?
While there are many watermark remover apps available, Media.io stands out as the best choice. It offers high-quality AI removal effects, as well as traditional editing tools like cutting, cropping, and overlaying in its video editor. Plus, with Media.io's free video editor, you have all the editing capabilities you need to create professional-grade videos.
-
?
7. How to remove emoji/sticker from video online?
There are 4 best ways to quickly remove emoji from video online. You can perform trimming, cropping, zooming, or directly removing the areas with watermark removal tool. The guidepost will show you how to make the emoji disappear in detail.
-
?
8. How to speed up video online free without watermark?
Ramping up the speed of your video can give it a fabulous look. For example, applying a fast-forward effect to your video can make narrations and actions funnier. So, use an Online video speed changer to effortlessly change the speed of any video format. Here are the steps:
Step 1: Open the video speed tool and click Choose Files to upload your video file.
Step 2: Now set the playback speed as 1.25x, 1.5x, or 2.0x. Or drag the Speed slider to the right to choose a custom speed.
Step 3: Choose an output format and click Start.