
“My older photographs were automatically watermarked with time and date, Now I ended to removing them. I have tried multiple photoshop applications but I am unable to remove the watermark from my pictures clearly. Can anyone help with some ways to remove watermark from images with an acceptable end result?”
Watermarks are applied to the images to save them from being misused. However, there are situations when you have to remove watermarks from your images because they are old, wrong, or misplaced on the images. If you also find yourself in such a situation, do not worry; we are here to help you out with this problem.
One of the many ways is to remove watermark using gimp from pictures. In this post, we have shared a detailed guide on how to use gimp to remove watermark from the photos. Scroll down to read the step-by-step guide for gimp watermark removal.
Part 1: Remove Watermark in GIMP Using Clone Tool
GIMP is an abbreviation for GNU Image Manipulation Program and is used for retouching images wherein you can change the image composition and even authoring. There are several ways for gimp watermark removal; however, we will describe the easiest and safest method for the same.
In this section, we will use the clone tool to refix the image and remove its watermark. A clone tool is a simple tool to copy a part of the image and paste that over the watermark to remove it. It will resin the image quality, and you can use it for your project. Here is a step-by-step guide to gimp watermark removal using the clone tool.
Step 1: Open the Image
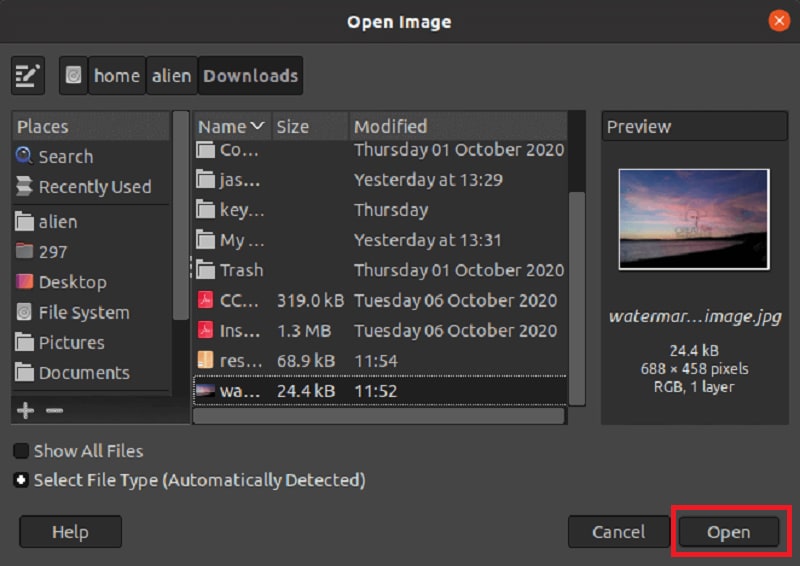
Launch GIMP in any of the browsers and hit the ‘Open’ button from the Files menu. You can also press ‘CTRL+O’ to open the image.
You will see a drop-down list to select the image you want to edit and hit the ‘Open’ button at the bottom right corner of the screen. Next, your image will open on the editor page.
Step 2: Select the Region
Now select the ‘clone tool’; Go to Tools, then click on Paint tools and press the ‘clone’ option, or you can also press the letter C.
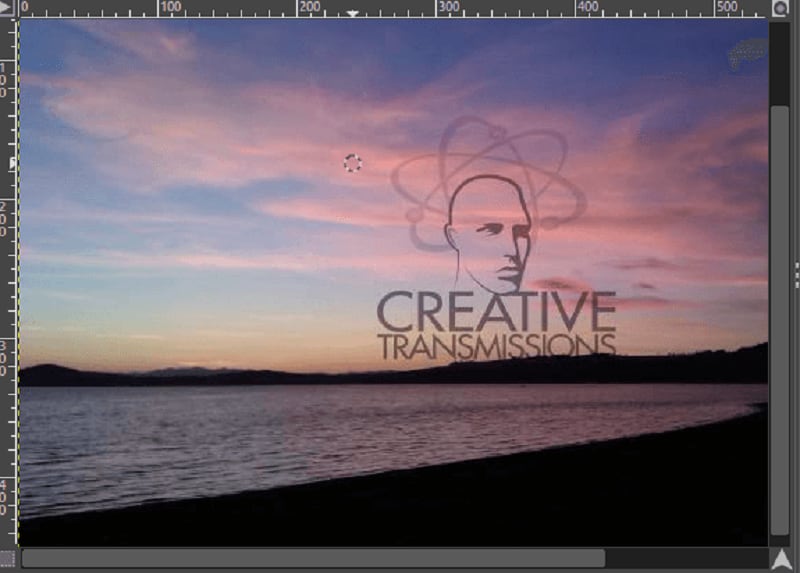
Once the clone tool opens, select a similar region from the picture, which you will paste over the watermark. Hold the CTRL-key and click on the particular area to copy the region to paint.
Step 3: Remove the Watermark
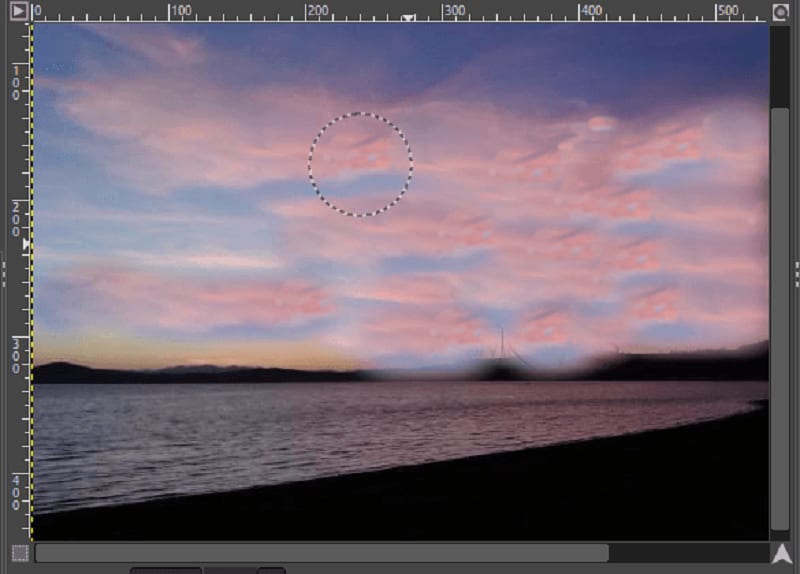
After copying the region, start painting the same over the watermark. Leave the Ctrl-key and slide the cursor over the region just like you would slide a brush. You can easily repeat the cloning process by selecting multiple regions by replicating step 2 again.
Zoom the image and set the brush size for an improved and clear gimp watermark removal. After you are done with removing the watermark, you can then save the image on your computer.
Applying the above three steps, you can easily remove the watermark using the gimp clone tool. It is easy and takes very little time.
However, there are other tools in gimp that can also be used to remove watermarks from pictures. Read further to know about them.
Part 2: Remove watermark using Resynthesizer plugin
GIMP has other tools than clone-tool that are easier and faster. Advanced photoshop programs have in-built automatic watermark removal tools. However, they are not available in gimp. Therefore, you will need to install plugins for removing watermarks.
For gimp, the best plugin is resynthesizer as it has wide options of tools and filters. These filters and tools are not included in gimp by default. Resynthesizer is free to download and install.
When the resynthesizer is installed, you can easily remove water using gimp. Then, follow the below-mentioned steps and get your image ready for use.
Step 1: Make a Selection
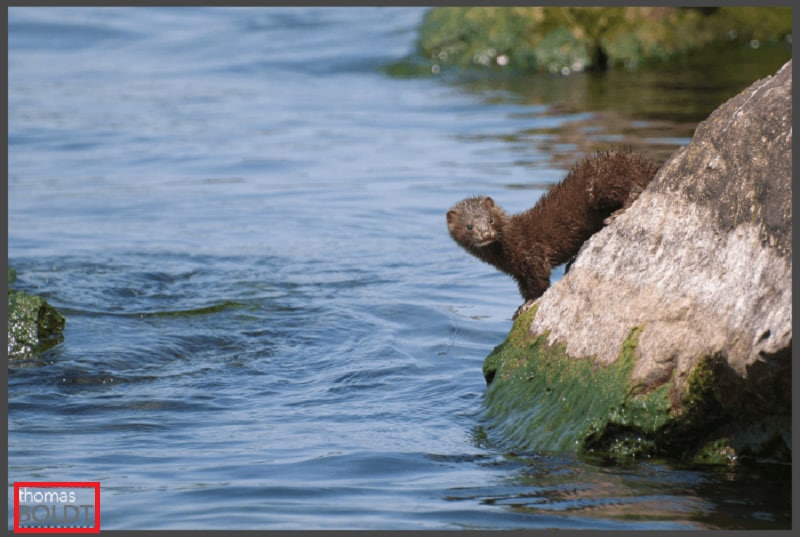
Decide the selection tool and select the watermark that you want to remove. You can use free-select or the scissor tool to mark the area as you can cover all the parts of the watermark.
Step 2: Heal Selection
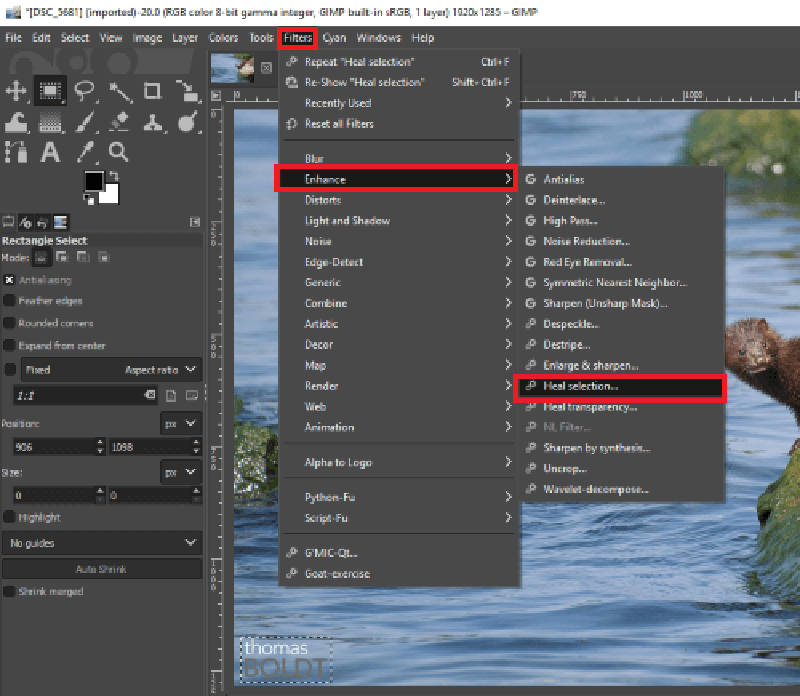
After making the selection, now press on ‘Filter,’ then hit the ‘Enhance’ button. Now you will see a list of tools; click on ‘Heal Selection.’
Step 3: Remove Watermark
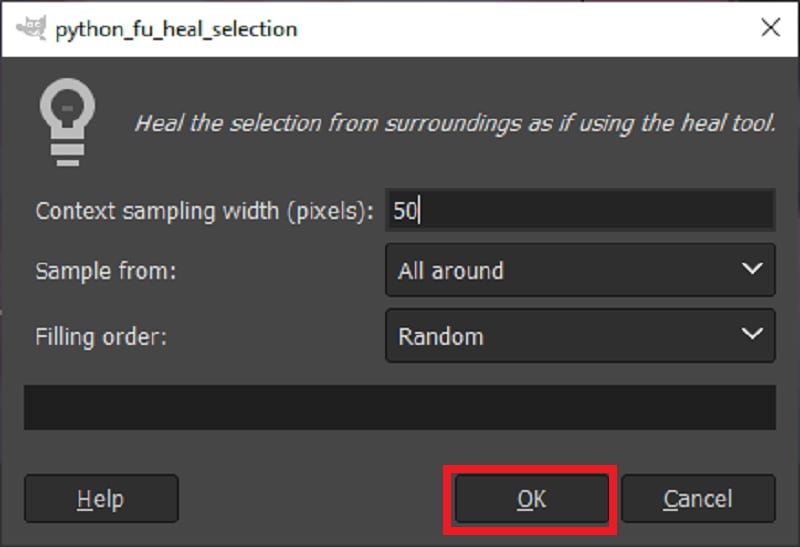
When you click on the ‘Heal Selection’ option, you will see a drop-box asking for information to process the healing. Now, mention the pixels and select the area from where the plugin can take the sample. After filling in the requisite details, hit the ‘OK’ button.
Step 4: Save on your Computer
Image is ready for your use without any watermarks. In addition, you can now easily save the picture eon your computer.

Implement the steps mentioned above to remove the watermark from your images. They are easy and do not take much of your time. The only requirement here is that you should have the resynthesizer plugin installed on your browser.
Now, we also have images that have layers, so is the process of removing watermarks different for such images? Yes, it is a lot easier to remove the watermark from the layered. Read on to find out more on the same.
Part 3: Remove watermark from the Images having Layers
Removing watermark from images having layers is quite simple. You need to follow the below steps:
Step 1: Upload the image
Press CTRL+O to open the image or click on the ‘Open’ option to open the image in gimp.
Step 2: Select the Watermark Image
Now, click on the watermark layer or select it using the selection tool.
Step 3: Remove watermark
Hit the ‘Delete’ key to remove the watermark layer from the image. Now, you can save the image on your computer for your use.
These three easy steps will help you remove watermark from the images having layers.
Besides gimp, there are several other editors available in the market that you can use as an alternative to gimp for removing watermark from your images. Scroll down to know more about them.
Part 4: Best Alternative to Remove watermark with a few clicks
The best alternative to gimp for easily removing watermark from pictures is Wondershare PixCut . It is an AI-powered photo editing tool that helps you remove watermarks, backgrounds and even enlarge your images.
Editors use it to design banners, thumbnails, Instagram posts, and much more. It is more like a professional tool with easy access to all the users.
To remove the watermark using Wondershare pixcut, use the following steps:
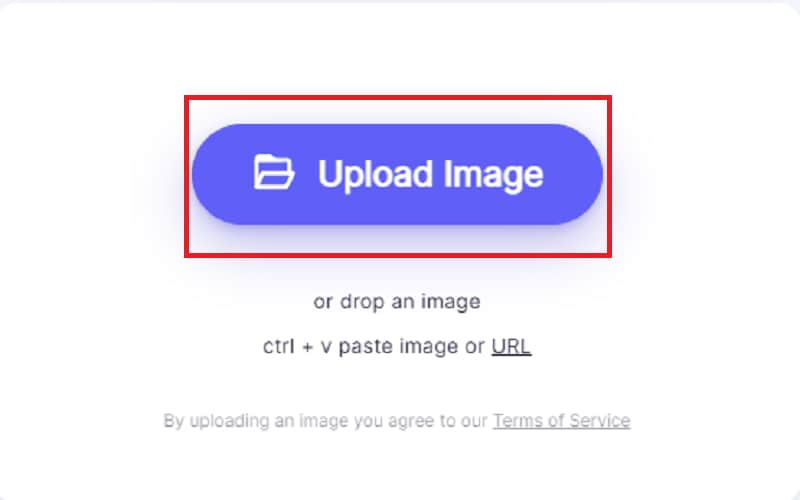
Step 1: Upload the Image
Launch Wondershare Pixcut in any browser and upload the image by tapping on the ‘Upload’ icon displayed on the screen. You can also choose to paste the image by dragging or using an Image URL in the given space.
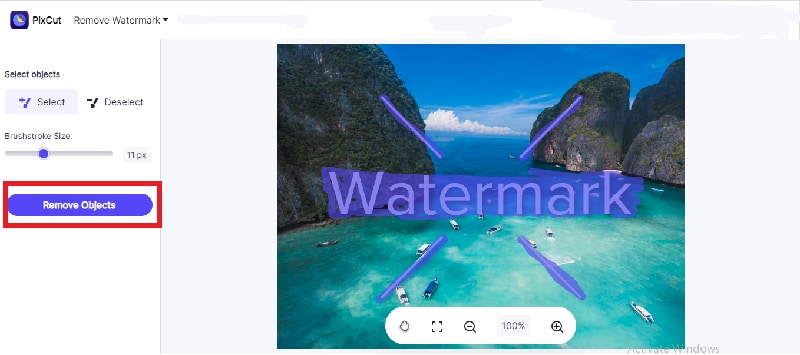
Step 2: Remove Watermark
Now, select the area that you want to remove the watermark from. On this screen, you can select the brush size according to the size of the area that you want to cover. If you have selected any extra area, you can use the ‘Deselect’ option to remove the extra portion.
Then, hit the ‘Remove Objects’ button on the left panel to remove the watermark from the image.
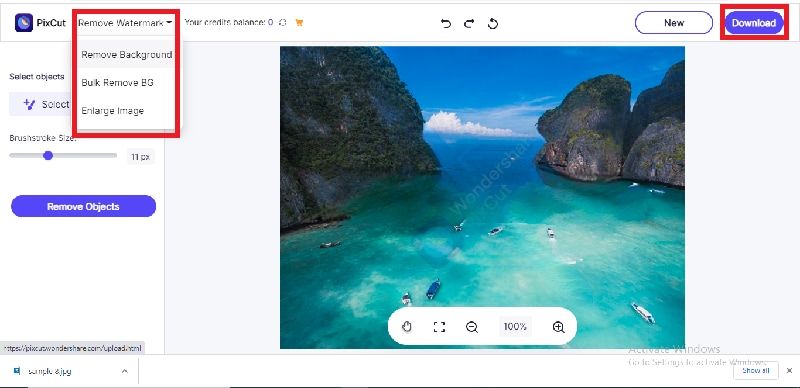
Step 3: Download the Image
Next, you will get an image without the watermark. If you want to make any further changes to the image, such as enlarging it or removing the background, you can do it at this stage. After completing the editing, hit the ‘Download’ option to save the image on your computer.
You can easily remove the watermark for your image using the steps mentioned above. They are simple and easy to follow. In addition, Pixcut offers additional editing tools such as removing bulk background or enlarging the images.
The Bottom Line
Photo editing is a necessary tool in today’s world—everyone from an amateur to a professional need to use editing apps for one reason or the other. Unfortunately, Gimp watermark removal is time-consuming and a bit complicated as compared to Wondershare Pixcut.
Pixcut allows you to edit images, remove watermarks and even enlarge the images, all in one place within less than a few minutes. The AI-powered photo editing tool is free to use and offers different styles and resolutions for saving the edited images. Whether you are a professional or a beginner; pixcut is a simple tool that is easy to understand and operate.
People Also Ask
Does gimp leave a watermark?
GIMP does not leave a watermark on your images when you use it to remove the watermark from the pictures.
How does gimp remove a semi-transparent watermark?
GIMP uses a resynthesizer plugin to support semi-transparent watermark removal. It is a simple 3 step process where the only pre-requisite is that you should have a resynthesizer plugin installed on your browser.
Step 1: Select the watermark that you want to remove. You can use a selection marker such as a free tool or scissor tool.
Step 2: Go to Filters, press Enhance, and finally hit the ‘Heal selection’ option from the sub-menu. Now, fill in the required information, such as where to take the refilling sample from the image and the pixels.
Step 3: Press ‘OK’ to proceed, and you will get the image without a watermark. You can now save the picture on your computer.
How does a gimp remove objects from the photo?
GIMP has built-in features for removing objects from photos such as clone-tool, crown-fill tool, etc. The remaining filters are added on when you install a resynthesizer plugin on your browser. In addition, it adds many more filters and tools for users to use according to their needs.