An image with a dull or blurry background can easily ruin your entire design. Whether you’re designing a logo or creating an overlay picture for social media, it’s important to get rid of the unnatural background to make your design more appealing. To get a step ahead, you can even replace the original background of the image with something more captivating to make the overall design engaging.
While there are several tools (offline and online) that can help you change image background, it’s worth noting that not all of them deliver the same results. While choosing the perfect photo background changer, you’ll have to pick a tool that helps you erase the original background without damaging the subject details whatsoever.
In this article, we’ll take a look at the most reliable photo background changers so that you can easily change the background of a picture.
In this article
Part 1 Change Background Online - Use Wondershare PixCut
The most convenient way to erase background from a picture is to use an online tool such as Wondershare PixCut. It’s a dedicated online background remover that’ll help you remove the background of an image with a single click.
PixCut is an AI-powered online tool that’ll automatically separate the background from the foreground and remove it as well. With PixCut, you won’t have to manually mark a subject, even if you are working on highly complex images. The Smart-AI feature is capable of detecting the background automatically, regardless of the image you’re working on.
And, once you have removed the background and made your picture transparent, you can easily replace it with a different background using its fully-functional editing panel.
Here are a few key features of Wondershare PixCut that make it the most reliable online background remover.
- Remove background from different types of images including portraits, graphics, and brand logos
- One-Click solution to remove background from an image
- No Need to Manually mark the background
- Smart AI feature to automatically detect the background
Follow these steps to remove the background from an image using Wondershare PixCut.
Step 1 - Go to PixCut and click “Upload Image”. Once the File Explorer window opens, choose the image whose background you want to remove. You can also upload an image directly using its URL.

Step 2 - Once you’ve uploaded the picture, PixCut will automatically start detecting the background. This process will only take a few seconds to complete.
Step 3 - After the image is successfully processed, you’ll see its transparent version on the right side of the screen. At this point, simply click the “Download Free” button to save the image on your PC. You can also tap the “Download HD” button to save the HD version of the same image on your computer.

That’s how easy it is to remove the background from an image using Wondershare PixCut.
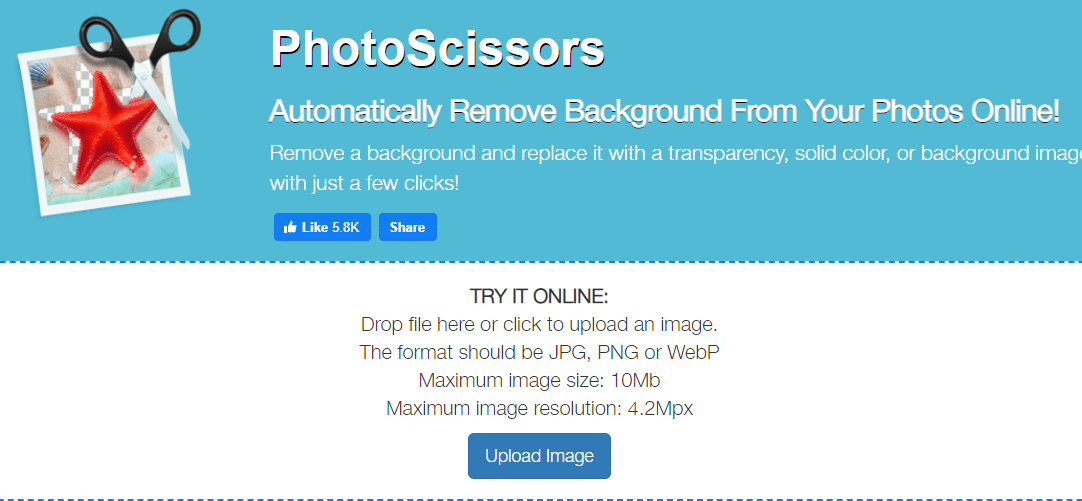
Part 2 Change Background of an Image Using Photoscissors
Photoscissors is another online tool that’ll help you remove the background of a picture and replace it with a custom one. Like PixCut, PhotoScissors also uses AI to automatically detect and erase the current background to create a transparent version of the image. However, the tool is only capable of working on normal images (such as portraits).
While editing a complex image, there’s a huge probability that the tool may even lose important details of the subject and ruin the overall design. Moreover, you can only use Photoscissors to change image if background pictures that are less than 10MB in size. This means if you want to erase the background from a large image, it would be better to stick to Wondershare PixCut.
Here’s how to change a photo background using PhotScissors.
Step 1 - Go to PhotoScissors.com and tap “Upload Image”. Make sure that the image is less than 10MB in size.
Step 2 - Wait for the tool to automatically erase the picture’s background. You’ll see the transparent image on the right side of your screen.
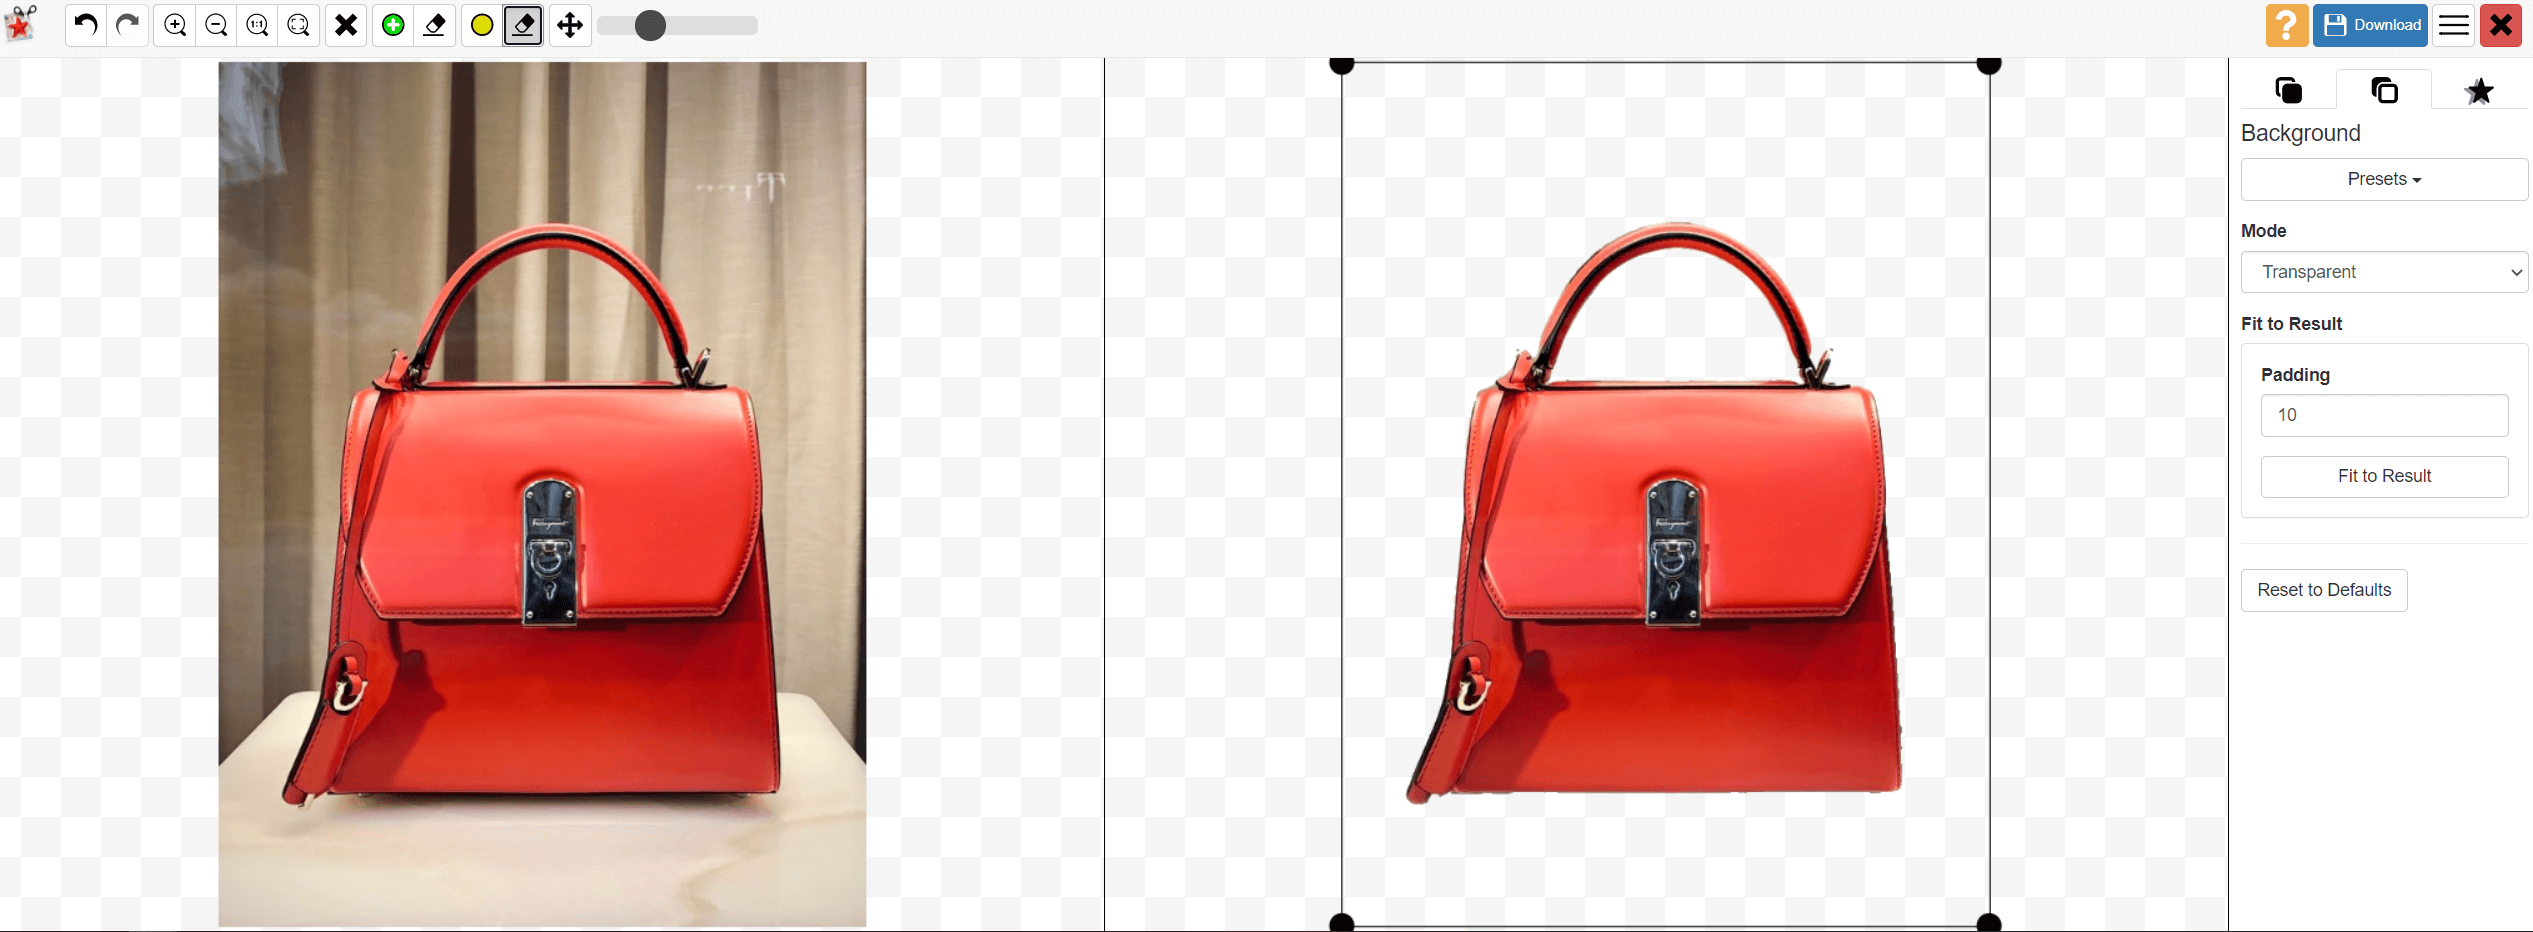
Step 3 - Now, to change the background, switch to the “Background” tab and click “Select Image” to choose a custom background for the image.
Step 4 - The background will be replaced with the selected picture and you can click the “Download” button to store the final image on your computer.
Part 3 Change the Background of an Image Using Adobe Photoshop
Another way to change image background is to use Adobe Photoshop. If you’re a professional designer, you’ll most likely be familiar with the software. It’s one of the most popular designing tools that can be used to perform a variety of edits on an image. With a fully-functional toolbar, Photoshop will help you showcase your creativity and change a picture’s background and make it visually appealing.
However, it’s important to understand that Photoshop doesn’t use any AI to erase the background. Instead, you’ll have to manually separate the foreground, which can often become a bit time-consuming, especially if you’re working on a highly complex image.
In any case, here’s the detailed step-by-step process to change the background of an image using Adobe Photoshop.
Step 1 - Load the desired image to Photoshop and click the “Quick Selection” tool from the toolbar.
Step 2 - Use the tool to manually select the area that you want to save. For instance, if it’s a portrait, you can select the main subject. Zoom into the picture to refine your selection and ensure that none of the details of the main subject are missed.

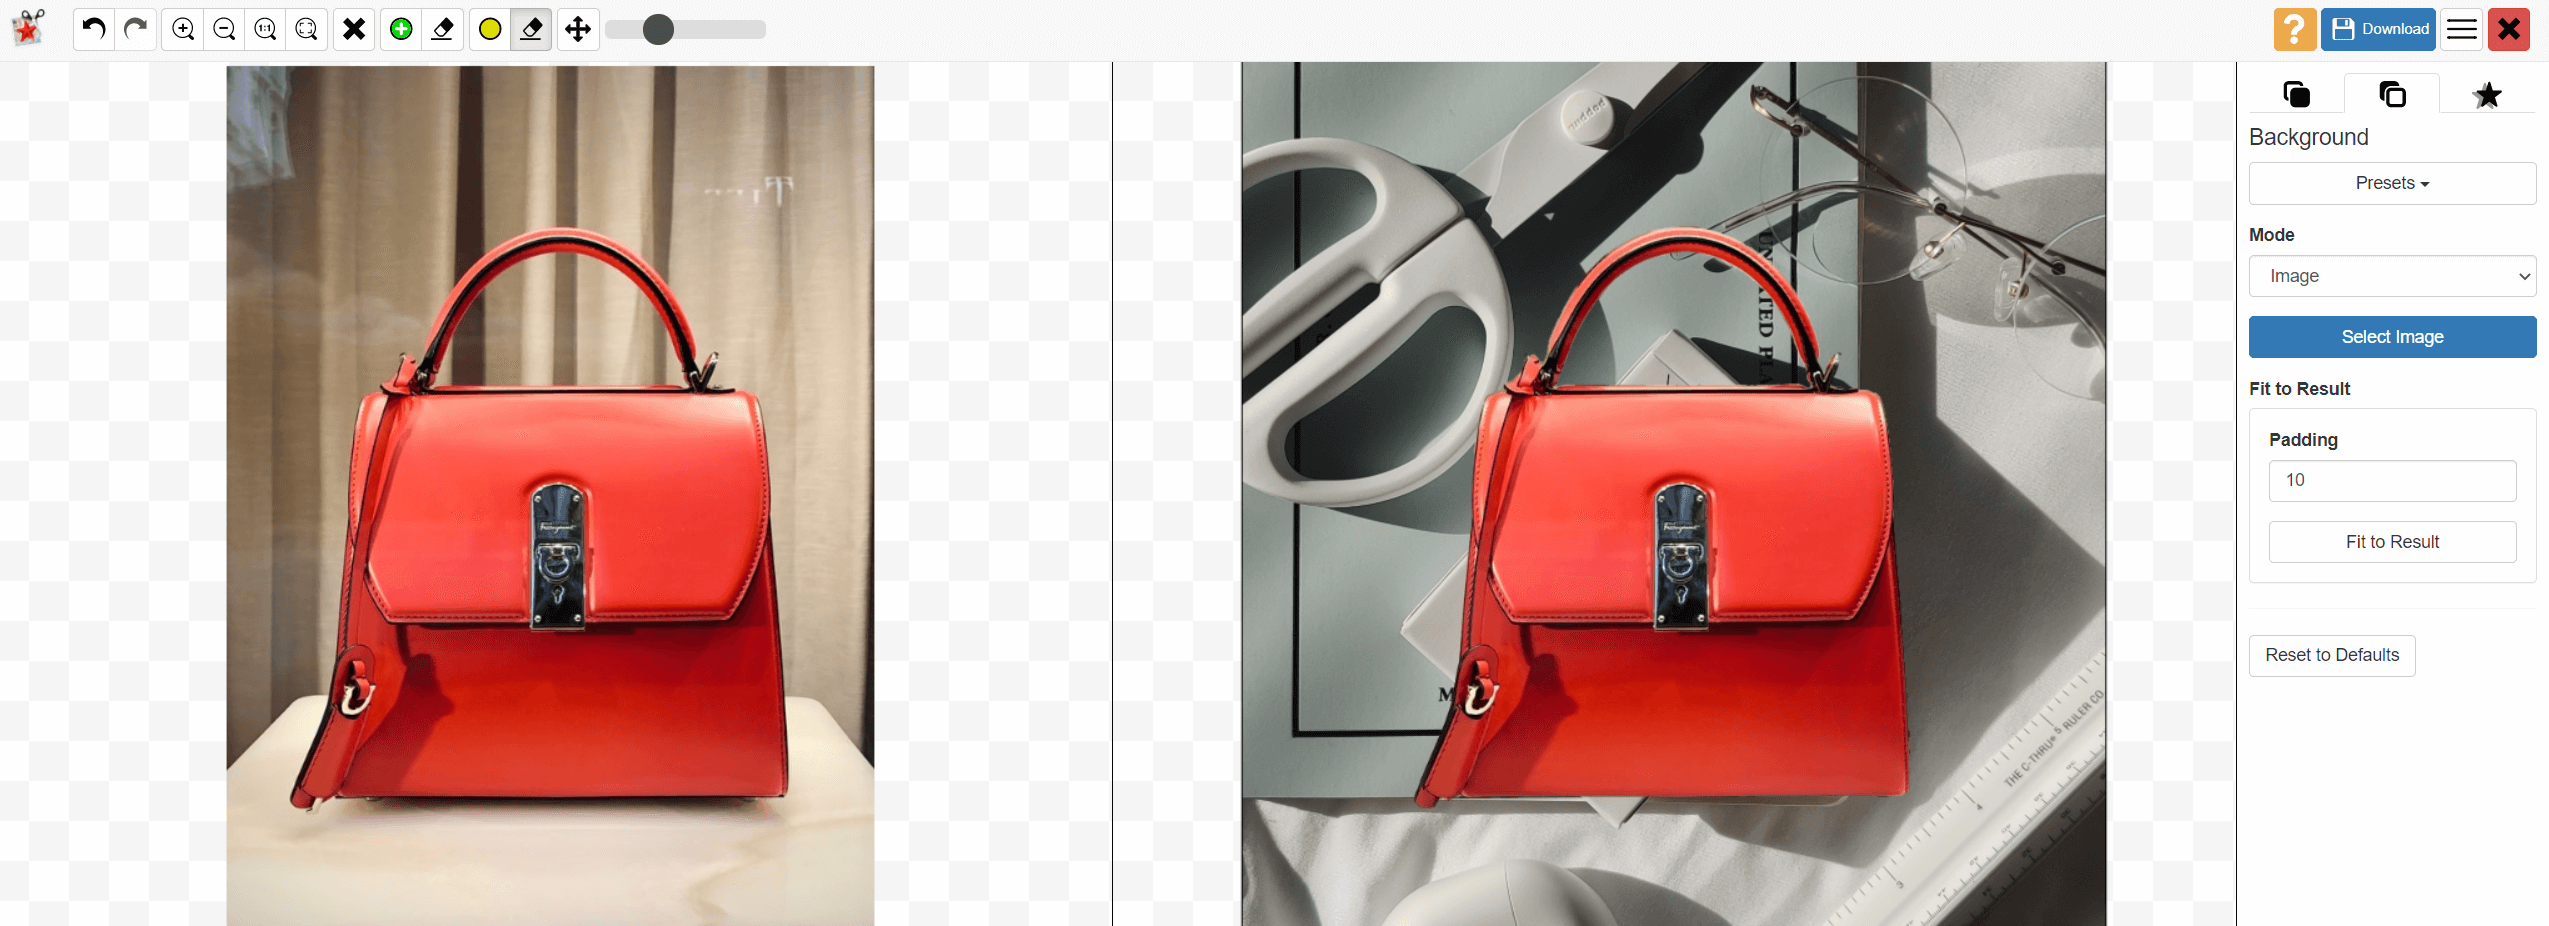
Step 3 - Once you’ve selected the foreground, tap “Select and Mask” at the top of the screen.
Step 4 - A “Properties” window will open on the right side of the screen. Here, select “Show Edge” as the “View Mode” and adjust the radius until you start seeing an outline on your screen. Again, disable the “Show Edge” option to proceed further.
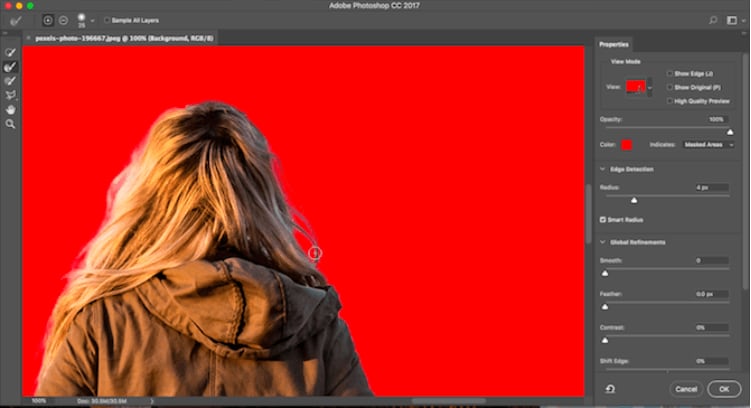
Step 5 - If you’re working on a portrait, make sure to refine the image one last time. To do this, you can use the “Refine Edge Brushing Tool”.
Step 6 - As soon as you’re happy with your selection, go to the “Output Settings” at the right side of the screen and click “New Layer With Layer Mask”. This will erase the current background of the image and you’ll have a cutout of the main subject.
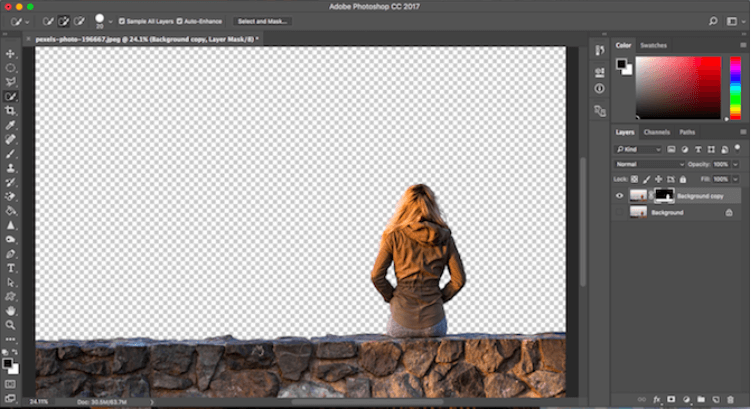
Step 7 - Now load the image that you want to use as the new background and place it as a new layer right under the layer that contains the cutout. Adjust the position of the background using the “Hand” tool.
That’s it; you’ll see a new background on the image. Finally, click “File>Save As” to save the picture on your computer.
Conclusion
There are several situations where it’ll become necessary to change the background of an image. In any case, the above-mentioned tools will help you erase the background from an image and change it to a different one. But, if you’re looking for the most perfect photo background changer that changes the background without consuming too much time, Wondershare PixCut will be the right option. Thanks to its Smart-AI feature, you’ll be able to remove the background of any image within seconds.