Mastering the art of using appealing and effective backgrounds is quite crucial to take your photography skills to the next level. The background of an image can be used to add depth to an image, project the subject more prominently or provide valuable info with regards to the setting. Either way, the background of your picture is a quintessential piece of the puzzle. Without the right photo background, your images could look flushed out or less impactful than you intended them to be. Even though from a layman’s perspective, the background of a picture may not seem as much but that’s the whole point of photography. Any pro photographer would know how the backdrop of an image can immediately make a whole difference to the viewer.
As a beginner, practicing how to improve your background should be your top priority. It is however one of the easiest instincts to learn quickly. Whether you’re taking pictures of a product for an eCommerce store, or taking headshots, or even indulging in natural outdoor photography, image background plays a key role in making the subject stand out. It is important to keep in mind that background may either make or break your image, so always pay close attention to it.
In this article
Part 1 How image background plays a Role in Photography 630
Taking photos for pleasure is completely fine in which case you don’t need to pay much attention to the background of your image. But, if you’re out to hone your skills then read on to find out how NOT paying attention to your background can make you end up discarding most of the pictures you click on.
After returning from a day of shoot, you transfer your hard work from your camera and onto your laptop or PC to take a look at the fruits of your effort. Now, you begin skimming through them only to find out that most of the pictures need to be discarded. Why? Notice closely, how your subject is being overwhelmed by the background, or how the background isn’t creating enough contrast for the subject to stand out. Backgrounds are a huge part of the composition in a picture. Think of it like a supporting actor paving way for the lead actor’s performance. Let’s delve into how not having the right image background can take away from your images rather than contribute to their beauty.
Eliminate Distractions
If you see that your background is commanding more attention than the actual subject, then it is not the right background. Most of the time, when you click a fabulous picture where your subject is in just the right position but there seems to be something acting as an ink stain on the image. This ink stain is called a distraction. Supposedly, you’re out capturing photographs of birds and the owl you’ve captured has a tree branch sticking out from the back of its head. This tree branch would be too distracting for the viewer, hence diverting attention away from your main subject. Such circumstances simply require you to take the extra effort of moving slightly to the left or right to move the distraction out of the frame.

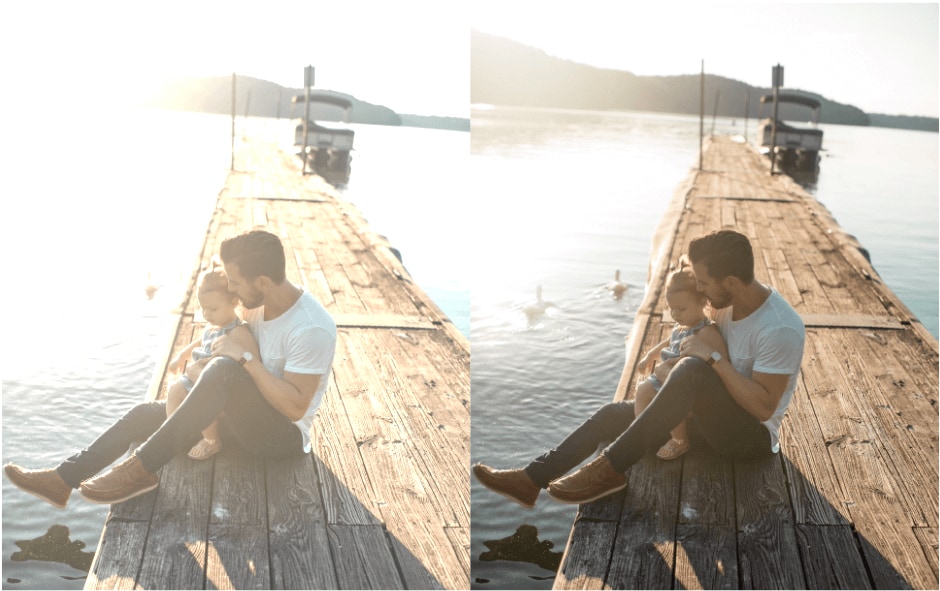
Over-exposed Background
Another instance in which your background can create difficulty for you to manage the subject would be when there is too much light. It could be so that there is another object in the background which is exposed to too much light that is making your primary subject look less lit. Of course, there is the prospect that you can adjust the image in post-processing software like Adobe Photoshop. Even so, you may need to pick your background lighting carefully in order to avoid having to over edit your image background.
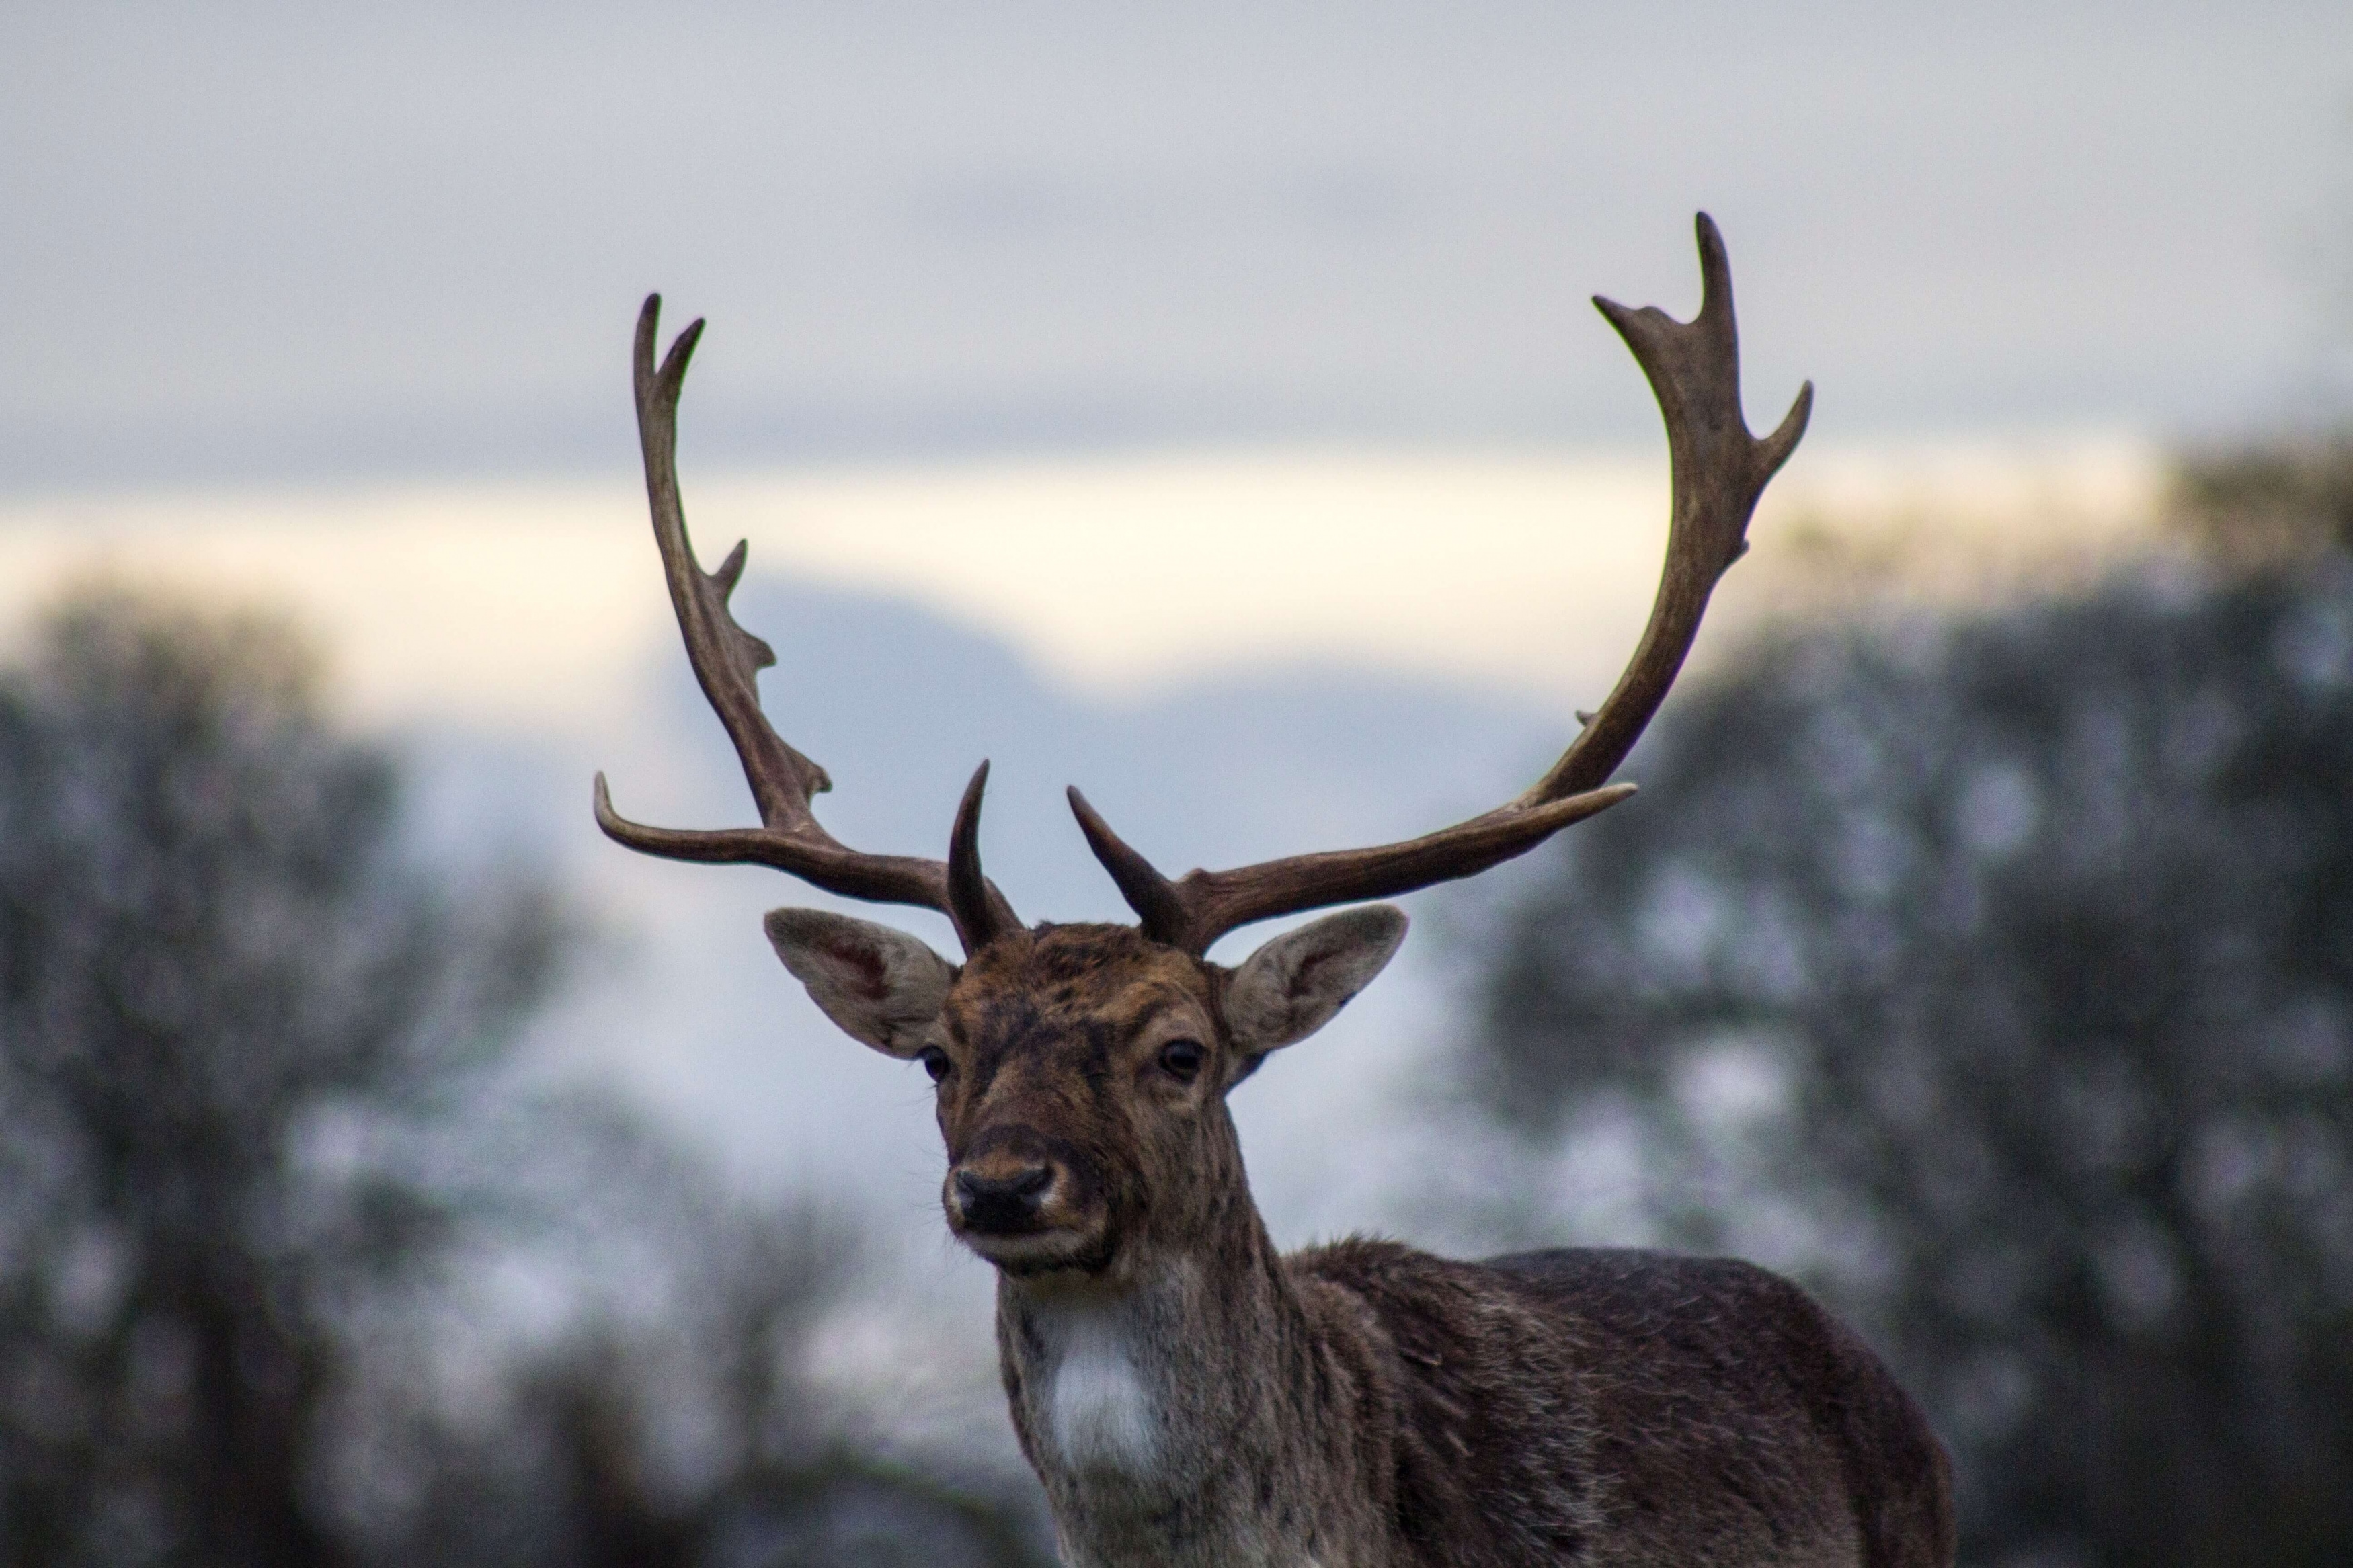
Superimposing via Bokeh
You will observe that the best wildlife and nature photography is one where there is a slightly blurry background known as the ‘bokeh’ effect which highlights your subject beautifully. Many photographers often stress how complicated this may be to achieve but it is actually a pretty easy technique. It primarily requires you to use a wider Aperture (which is usually measured by the F stop number in your DSLR) in combination with a wide lens like the 5mm prime. Just set your camera to Aperture Priority or Manual, and set it to the widest focal length which may be between F/2 to F/1.8 (Depending on the camera – Nikon/Canon/Sony). Now focus on the subject and let your camera blur out the photo’s background.
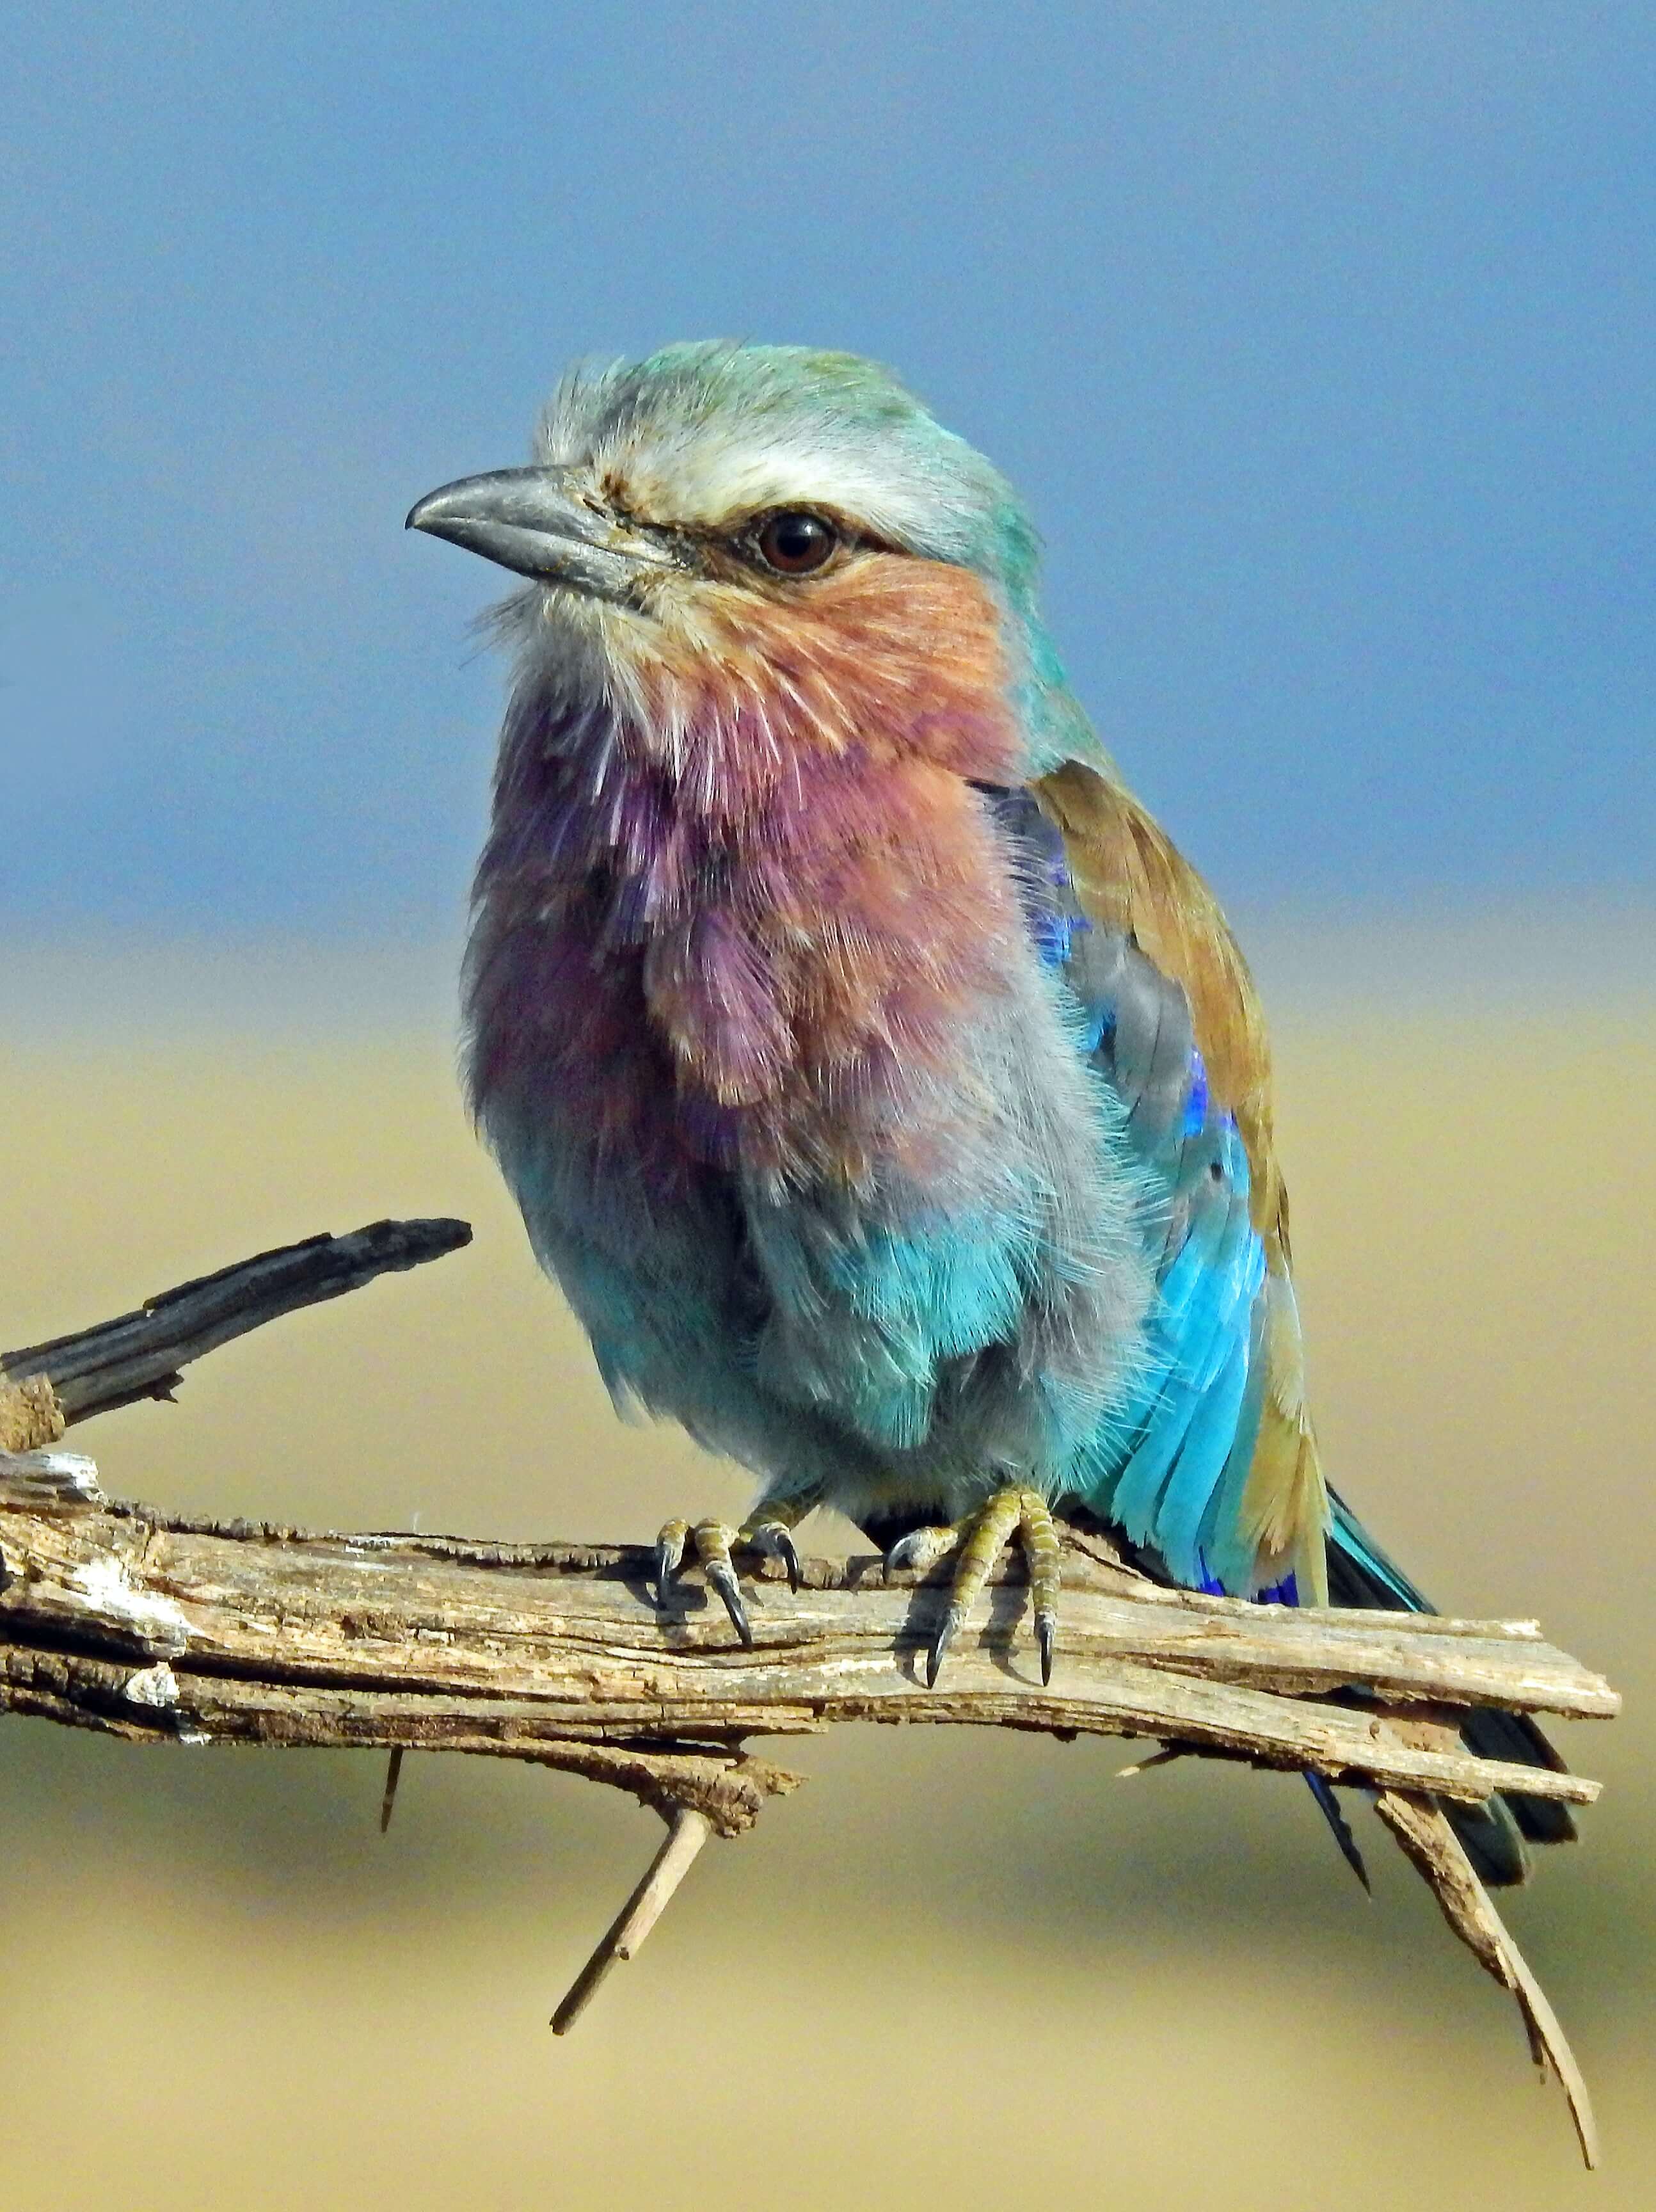
Using differently colored backgrounds
As you already know, photography is basically the art of painting a picture with different colors of light (exposure). This is achieved by using contrasting or complementary colors in the background that adds a variety of colors to your pallet. You can choose a background that has objects that present a consistent range of colors in it with very few distractions and just the right light. You can of course control the circumstances by making extra efforts like including different objects of your choosing or even expand on a plain netting or sheet in order to get that studio-like effect.
Part 2 How to Choose the Right Image Background
What we have learned so far is that the background of your image should never distract the viewer’s eyes from the main subject. The primary pointers that you should keep in mind to get a jump start on things is that the background you chose for your subject shouldn’t be too loud, have too many illustrious patterns or comprise distractions that take the spotlight away from the chosen object of focus. Rather, the backdrop should be such that it compliments your subject, and adds context or texture to the picture. Let’s look at some tips that help the best photographers in the industry in clicking appealing and magnetic images.
1. Be mindful of your subject
When you are cooking a dish, you always start out by choosing the star of the dish carefully. Similarly, you need to choose and also understand your subject the same way in order to figure what type of background is most suitable. Whether your subject is a person, animal, or inanimate object, pay keen attention to what colors it represents. Then search or set up a background that goes best with it such as a plain white background for an indoor model shoot or a mild bokeh for outdoor nature scenes.
2. Dial down on the distractions
When you go to a professional exhibition, you will realize that most of the appealing artworks are ones that have simplistic and plain backgrounds. It’s okay to keep things minimal as modern photographs are mostly so. In order for your view to quickly grasp the idea behind your portrait, you need to keep your background as plain as a canvas, and by ‘canvas’ we mean consistency which is free of clutters or unnecessary distractions. A backdrop that doesn’t consist of too many variegated colors creates good contrasts and lets the subject stand out. Then again, if you have a completely clean background then it may pose the risk of making your subject look superimposed. In such cases, you can look for sceneries that contain textures that augment dimensions into your photo, for example, a vine-covered wall or a wooden fence.
3. Lighting and Mood
Are you out to click a glamorous fashion portrait, or an artistic shot, or even a press image that must convey a deep-rooted message? Then what you need to do is focus closely on the mood which you set for your photos. Different intentions can be established through the use of light, setting, and color. If you want your images to look more naturalistic then clicking them in an outdoor setting with plenty of greenery and on a sunny day can help. Also, if you wish to set a more sullen mood filled with shadows, then you can experiment more with darker shades of colors and shadow textures to build contrast. Remember that lighting is the primary key to good photography. Applying different setups can help you achieve variable changes to your photos. You can either opt for natural lights such as the light entering a room from a window or even use studio lights to establish a canvas-like background.

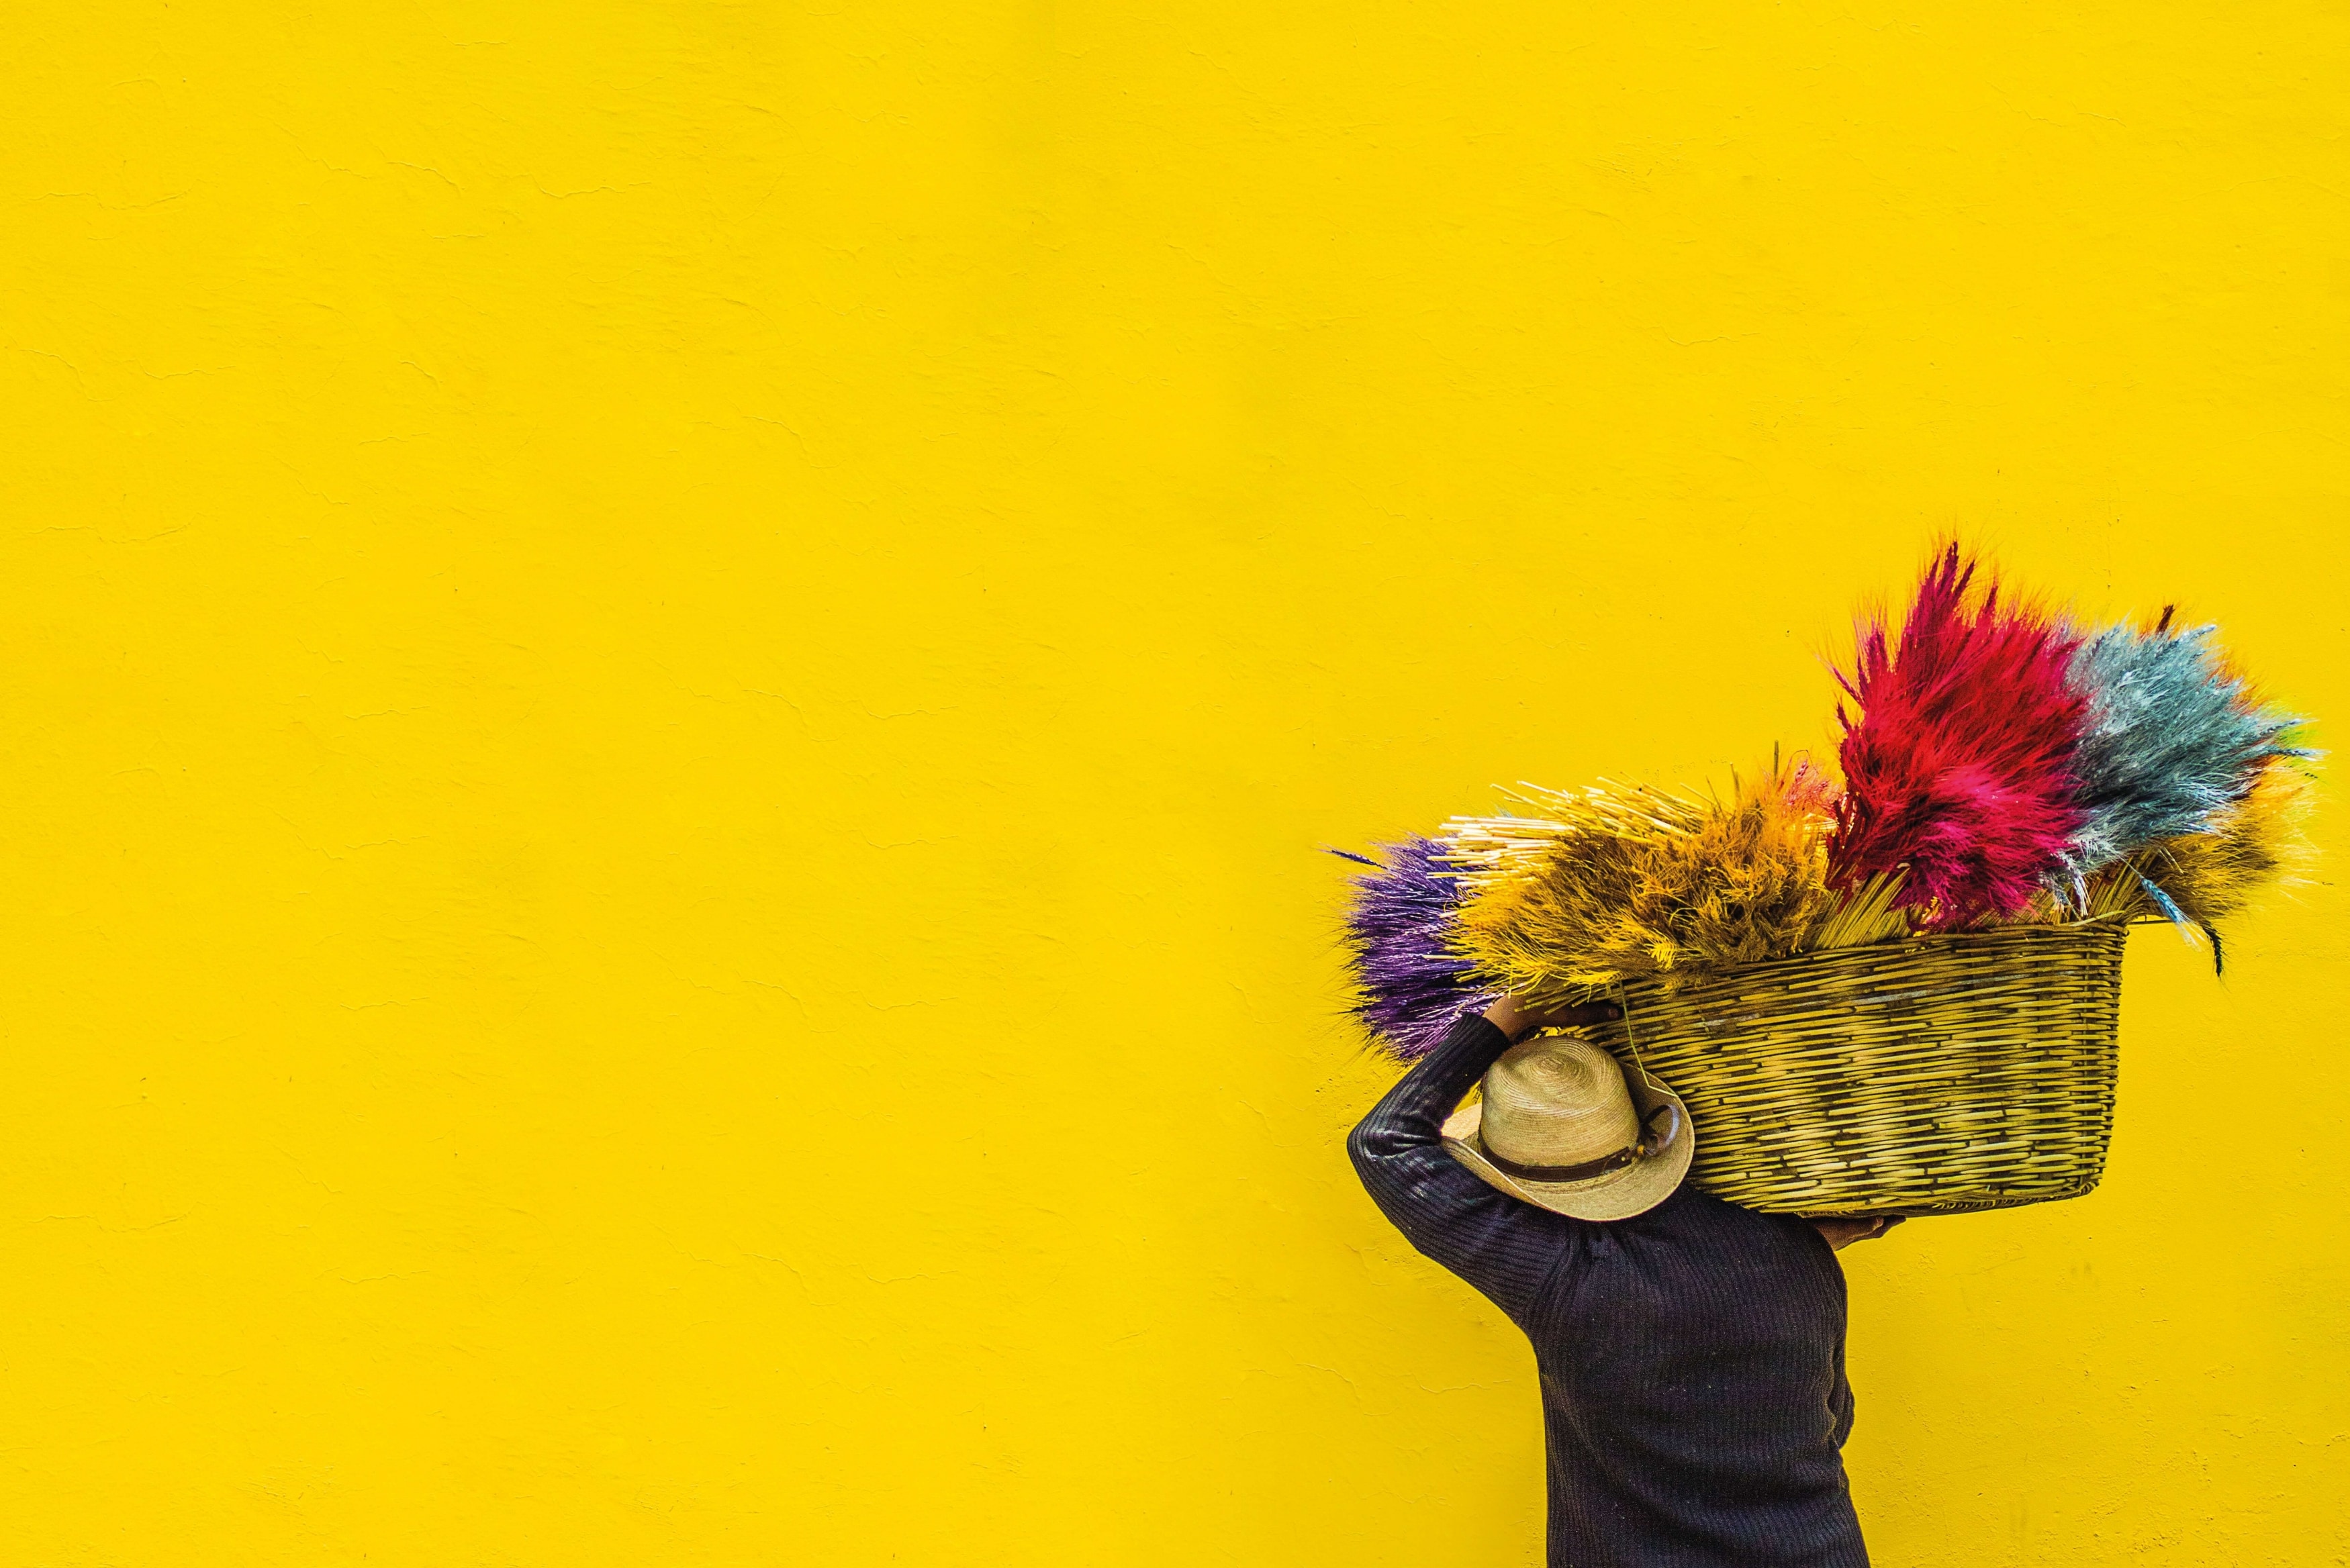
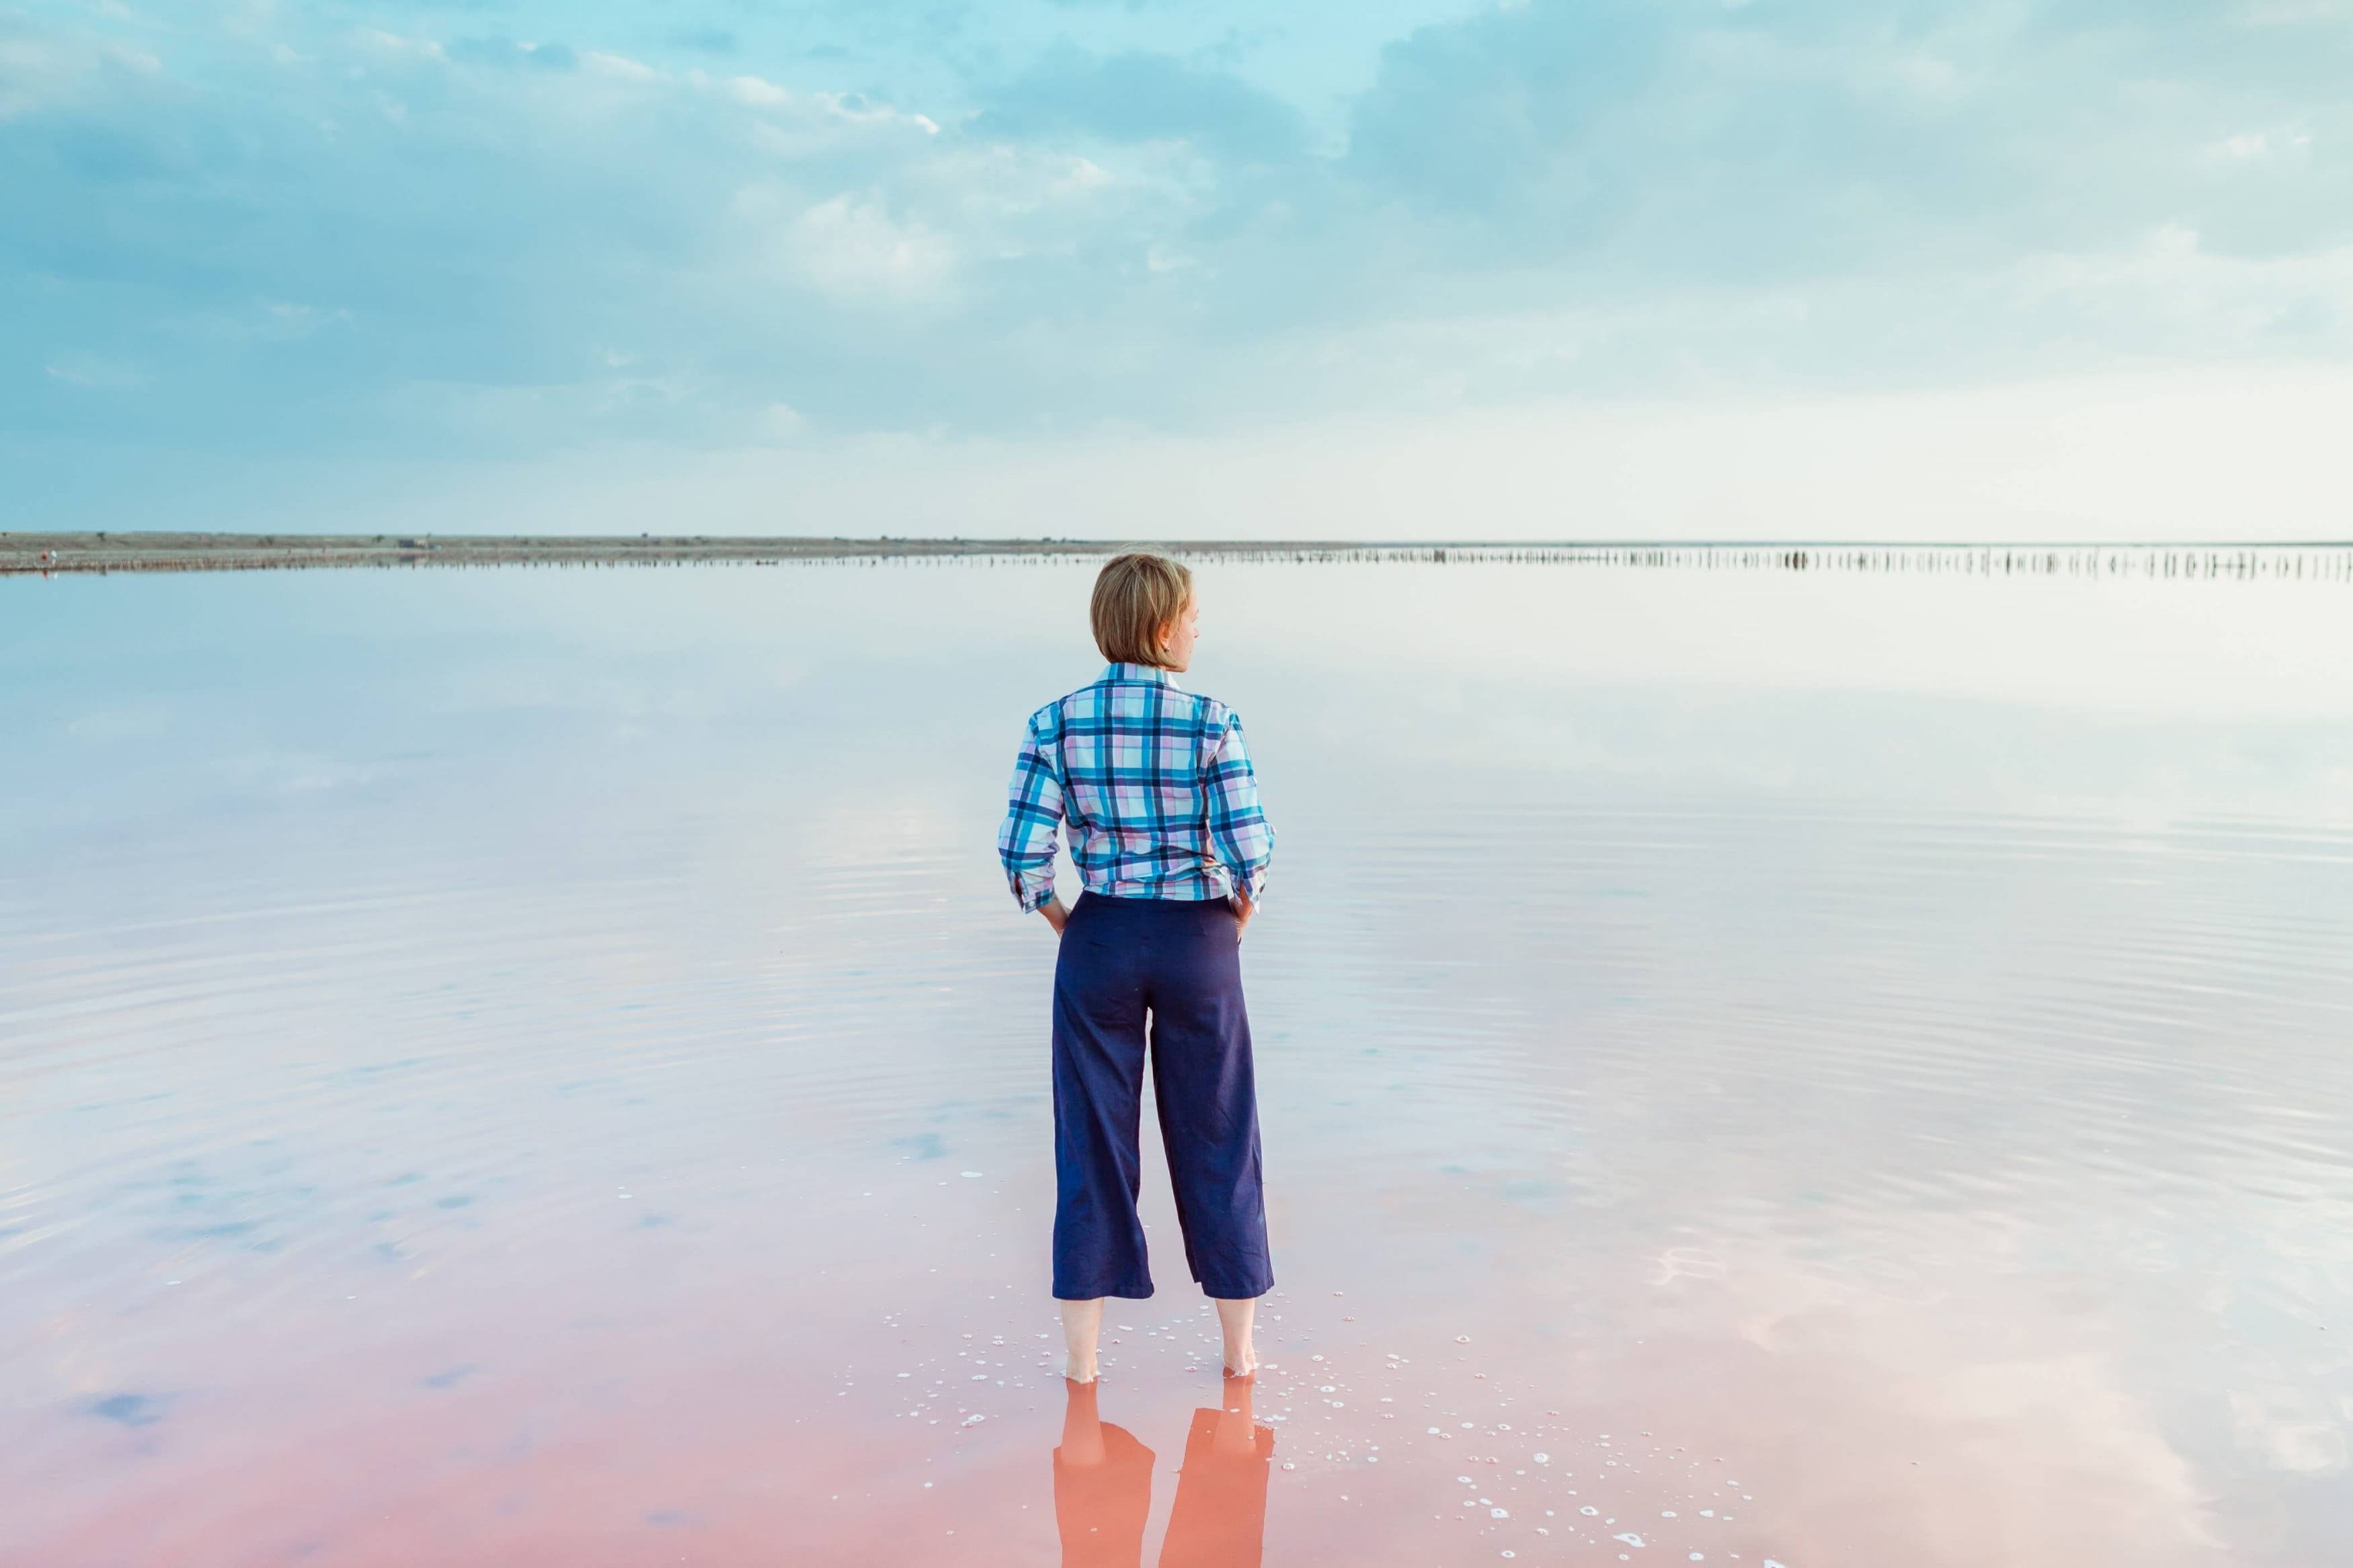
4. Take Advantage of Negative Spaces
The use of negative space or blank areas that surrounds the object of focus can be a boon to building your composition. It helps facilitate the subject by isolating the eye’s attention to nothing but the subject of the photo. Negative spacing helps round up the composition of the picture since more attention is invested on the primary subject and you don’t even have to worry about any distractions in your background either. Consider these blank spaces in your image as breathing room for your composition to be more flexible to the viewer. If in case you feel your image is becoming too crowded, incorporate some negative spacing to bring balance to all the visual elements.

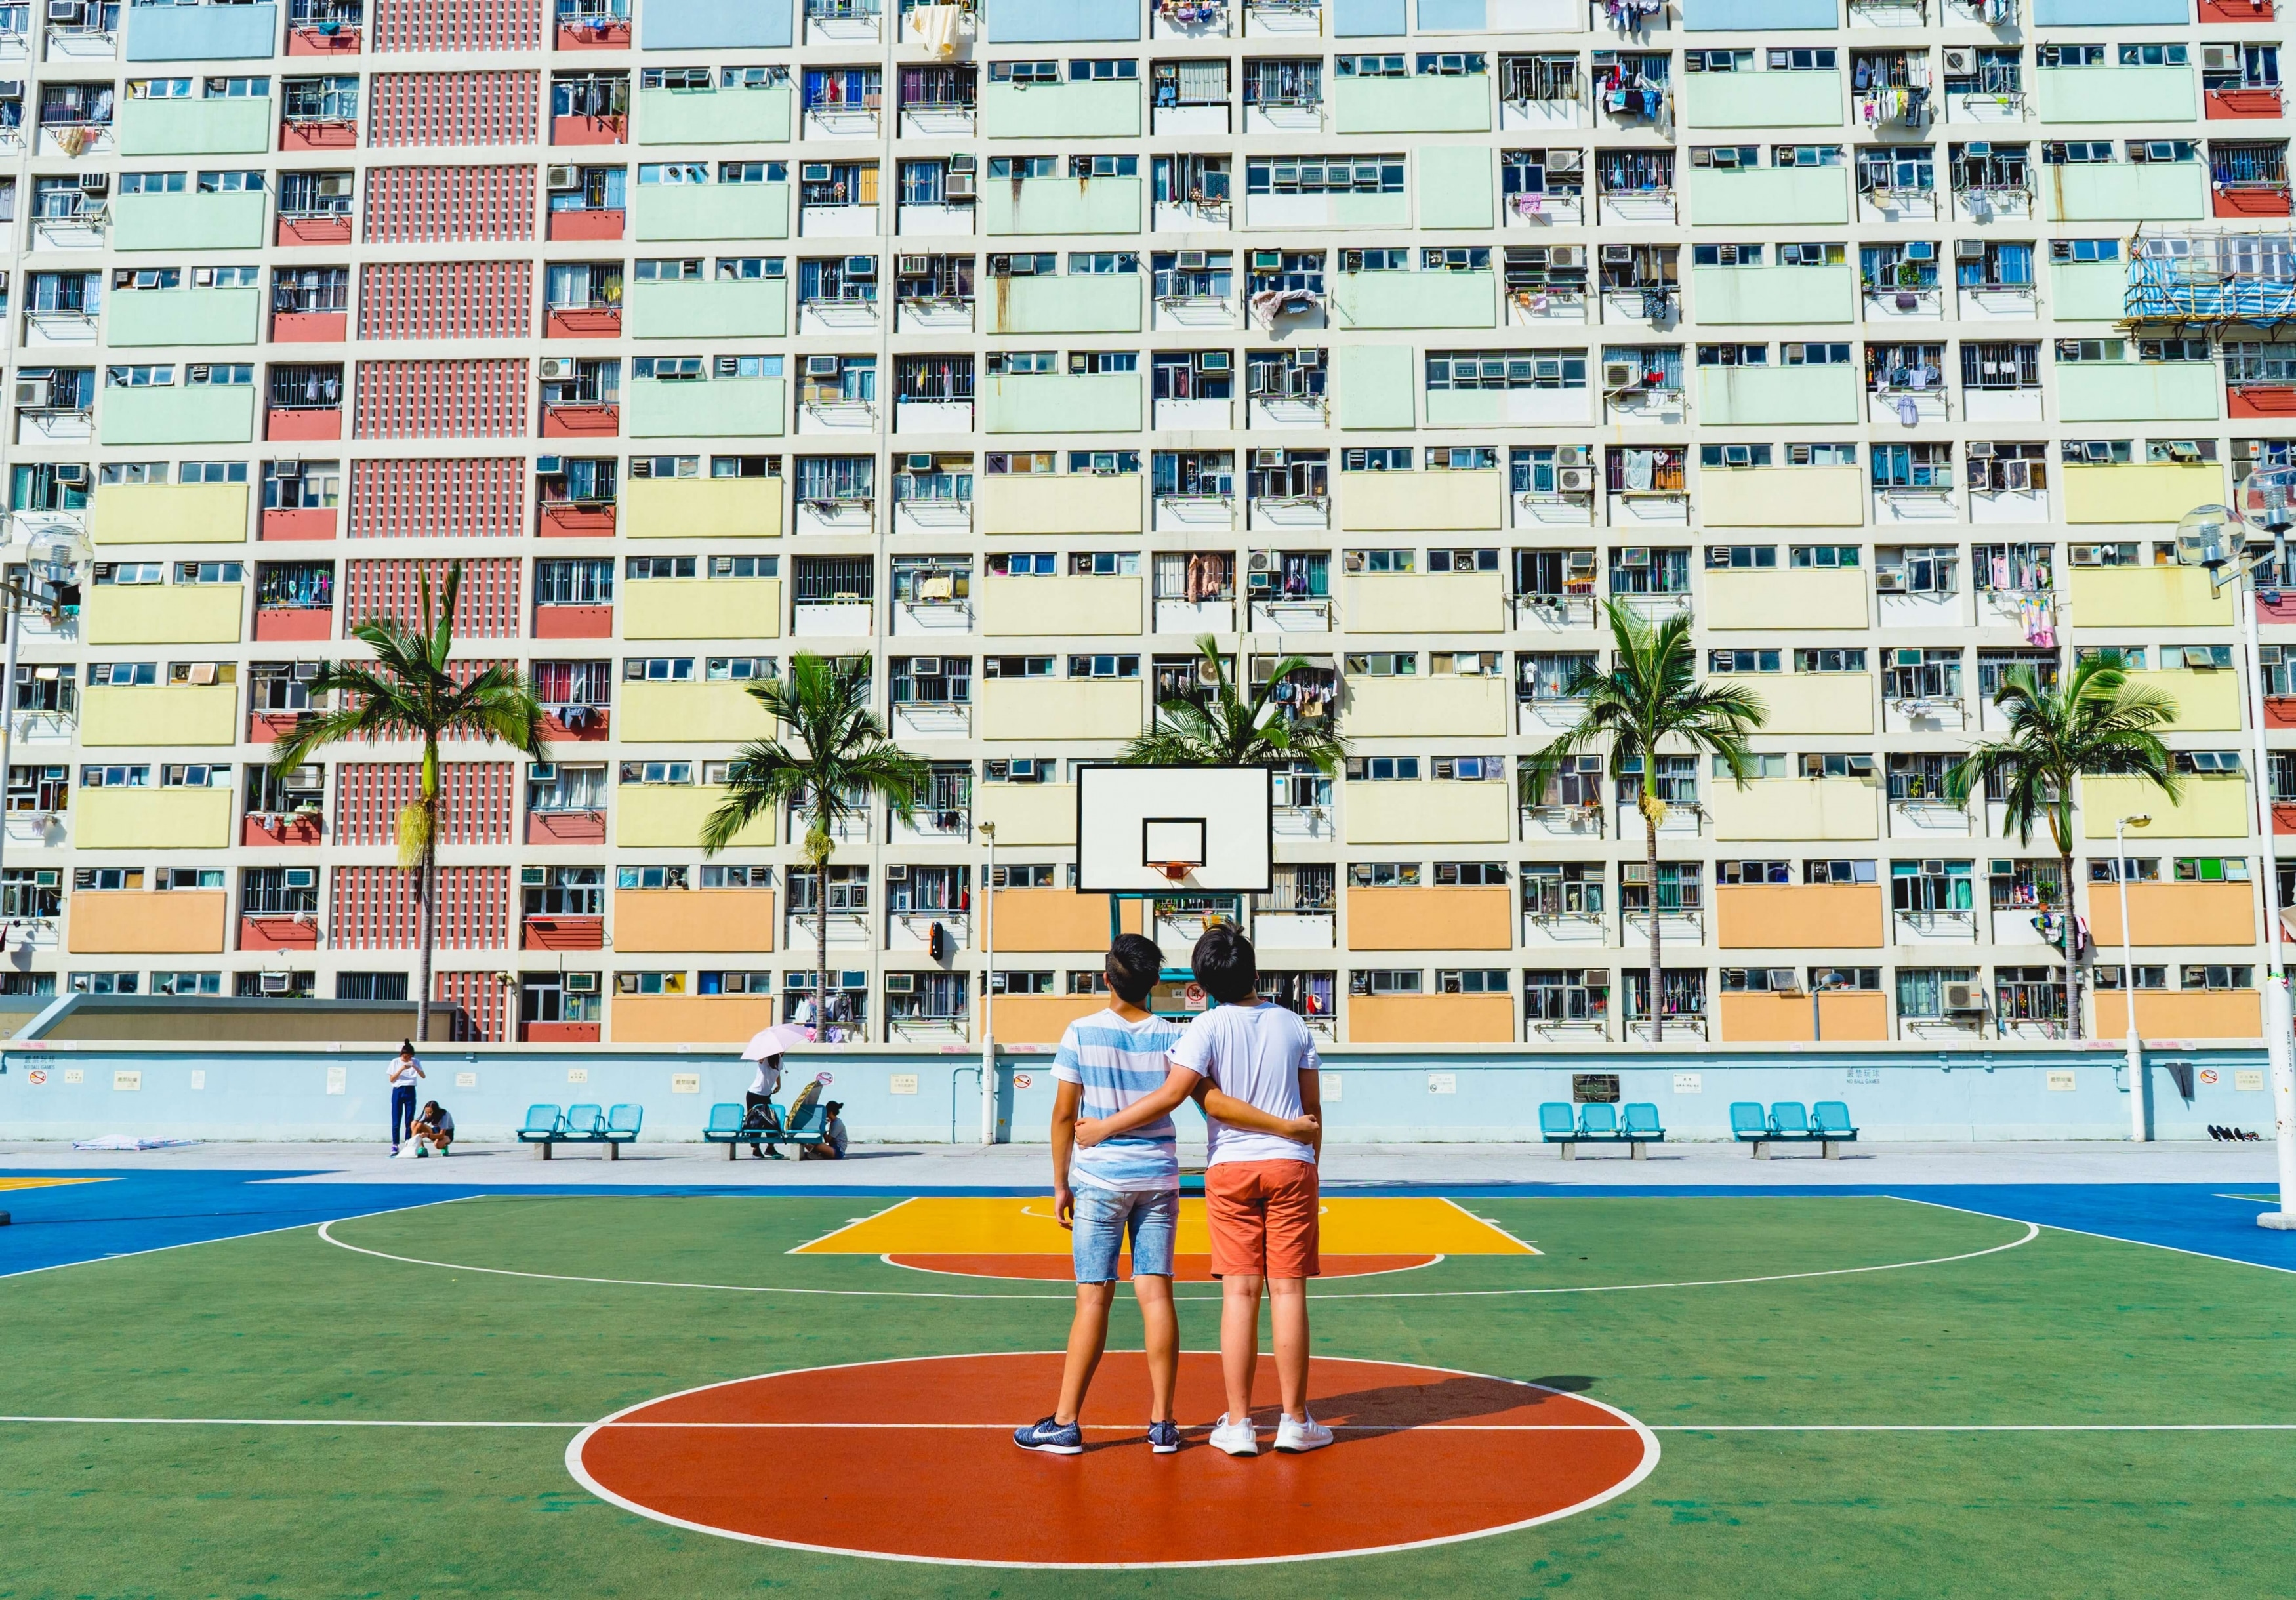
5. Use Line Patterns to lead your viewers
It’s time to get a bit more creative with your skills in making your backgrounds pop! One unique way of doing this is by using patterned lines in the background of your subject to lead the viewer’s eyes to the center of attention. These lines could be anything from windows, outlines on buildings, or designs and shapes on the horizon. Just ensure that these lines do not cross out your main subject otherwise they become a distracting element in the background.
6. Experiment with Depth of Field
Remember how we previously discussed the bokeh effect? Well, you can use this effect whenever you feel your background is too unmanageable in terms of your subject. You can use bokeh in your background by ensuring two factors are in place. First, use a wide enough aperture or F stop between f1.8 to f/2.8. Second, ensure that your subject has enough distance from your background. The more the merrier! You can enhance the bokeh effect in your background through the use of bright lights. Also, if you click it in a busy background then it will help as well.

Features of PixCut
- Easy to use features.
- Automatic Selection.
- Stunning picture quality.
- Can be used for a variety of purposes like Graphic Design, Portraits, or eCommerce.
Wrapping Up
Whatever the purpose, pay attention to the background of your pictures and the results will be rewarding. You can use unique techniques like the ones mentioned in this article or free online photo background changers like Wondershare PixCut. Either way, the background of your image should be one that is complementary to the composition you are trying to achieve.