
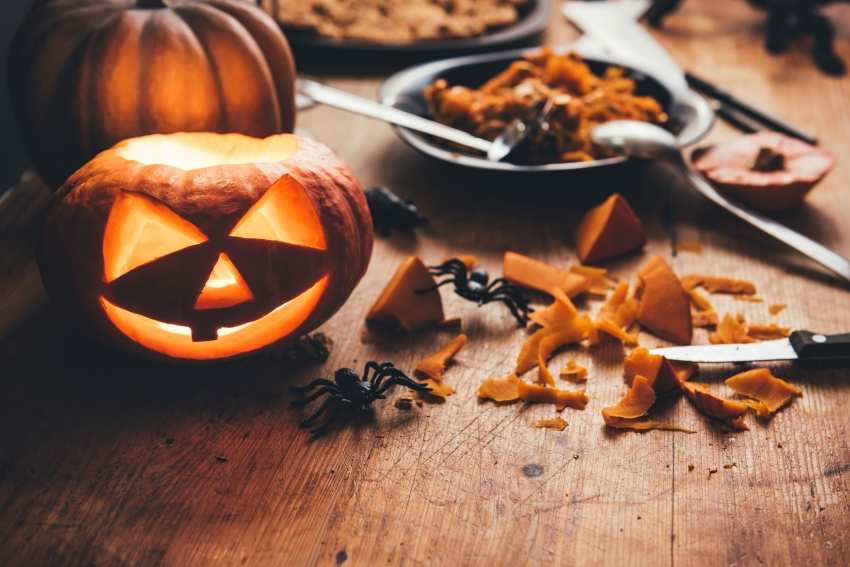
Autumn is slowly creeping up with its wings spread wide. With October just around the corner, the thrill about Halloween is real. Dressing up and trick and treating is certainly fun, but Halloween seems almost incomplete without a jack-o-lantern lighting up your doorway.
For many, pumpkin carving isn't always the easiest job. To make things easier here is all you need to know about carving the perfect pumpkin for Halloween, including the right tools, a step-by-step guide, and some cool designs to carve on pumpkins.
In this article
Part 1 Prerequisites of Pumpkin Carving
Generally, carving a pumpkin is a pretty easy task. But like all other procedures, you will need certain things to get started. Here is a list of all the things you might need while carving the perfect pumpkin for Halloween:
A Pumpkin
Having a pumpkin is an obvious requirement if you want to carve one. But you need to choose your pumpkin wisely. Go for a firm texture with no soft areas. Your pumpkin should be mature with thick skin if you want it to last long.
Cutting Tools
For a simple design, a sharp knife with a long blade will do the trick. But if you are going for more complex and amazing pumpkin designs, you might need other tools such as small saws or other carving tools.
Scooping Tools
You will also need to scoop the seeds out of your pumpkin. You can do it using simple tablespoons, soup spoons, ladles, or ice-cream scoops. Any of them will do the trick.
Part 2 Steps of Carving a Pumpkin
Now that you have all the required tools let's dig in. Here are the steps to carve the perfect Halloween pumpkin:
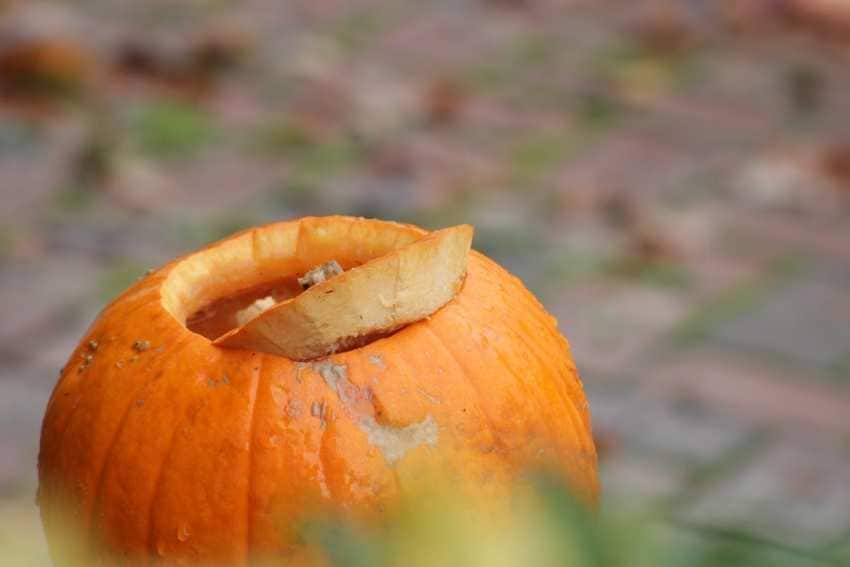
Step 1: Slice the Pumpkin's Lid
Place your pumpkin on a flat surface. Start by slicing your pumpkin from an edge, preferably from the bottom, to create a square or diamond-shaped lid. Try cutting the lid from an angle so it can rest on the top instead of dropping down later.
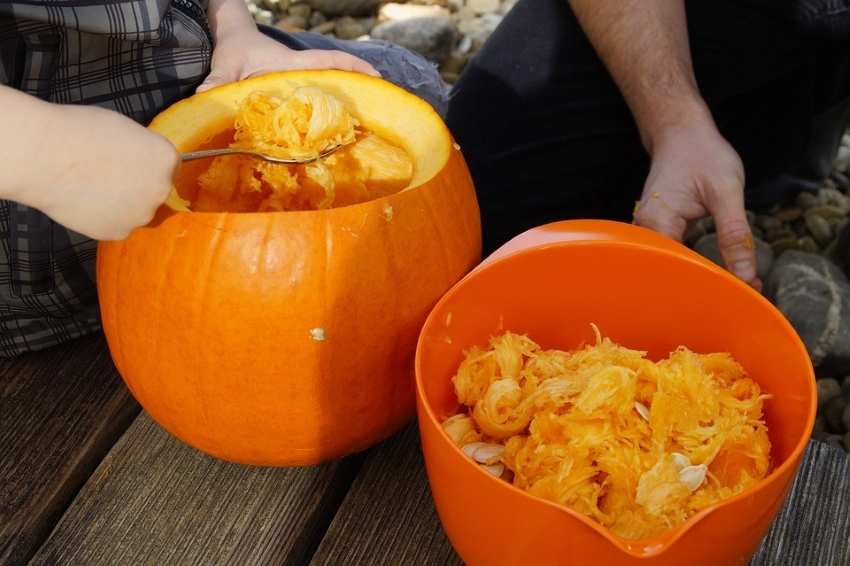
Step 2: Scoop out Everything
Now scoop out everything from inside the pumpkin. Remove the pulp and the seeds, and store them for later use.
Step 3: Prepare your Design
Before carving your design onto the pumpkin, it is better to sketch it out first. You can draw it on paper and then trace it on the pumpkin or directly draw it on your pumpkin's skin using a marker.
Step 4: Etch out the Design
Now start working on carving your design onto the pumpkin. Make rough and small cuts at the start, and work your way in. Remember to use a sharp blade for smooth etchings. Don't throw away the scraps, as you can use them to make accessories later.

Step 5: Clean your Pumpkin
Remember to clean both the outside and inside of your pumpkin. You can use various things to increase its shelf life, including a bleach-containing cleaner, petroleum jelly, or borax solution.
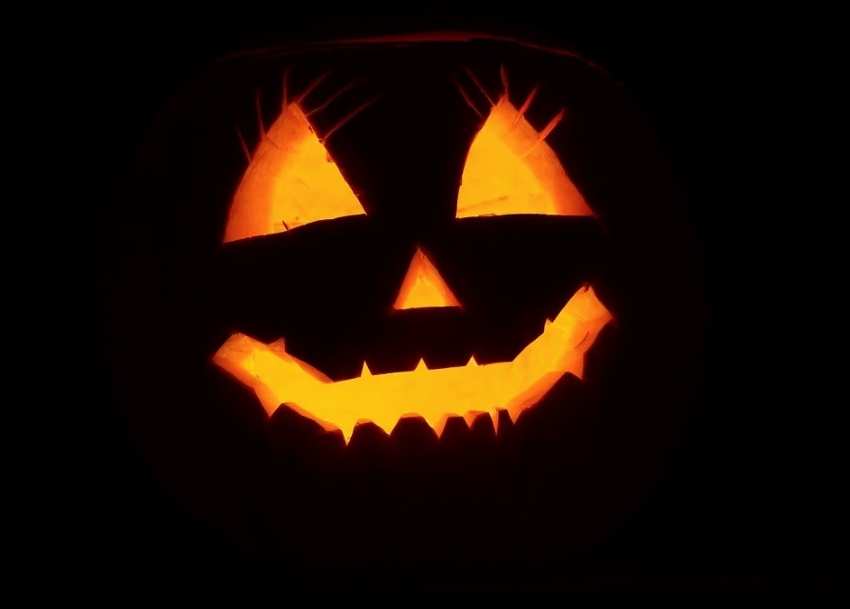
Step 6: Light Up Your Pumpkin
Finally, place candles or store-bought lights in your pumpkin to illuminate it. Your pumpkin is now all set to make its debut.
Part 3 Cool Designs to Carve on Pumpkins
Looking for inspiration for your Halloween pumpkins? Here are some cool designs to carve on Pumpkins for you:
1. Cute Easy Pumpkin Designs
A few simple cool pumpkin designs are:
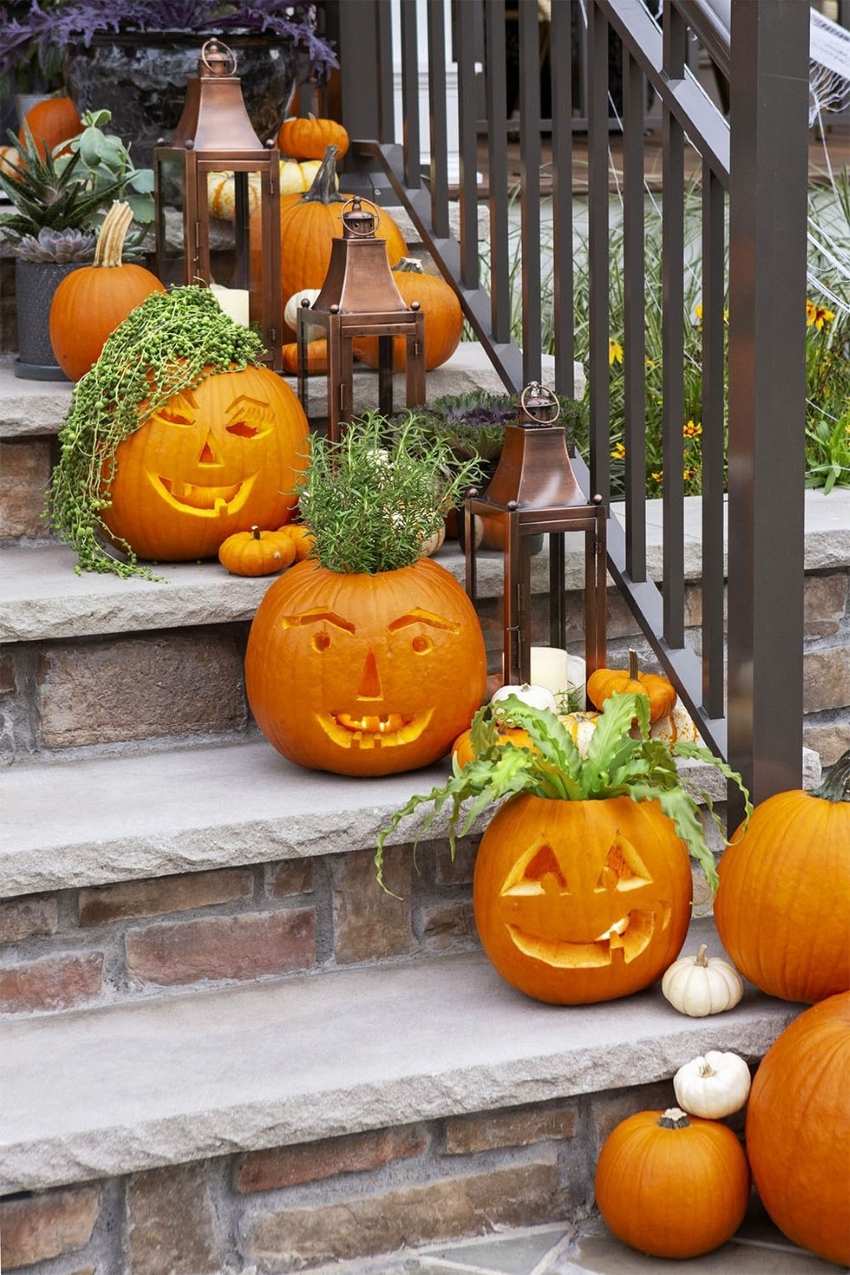
Crazy Hair Pumpkins
Some cute easy pumpkin designs include pumpkins having a bad hair day. You can do this by placing plants and herbs inside your pumpkin.
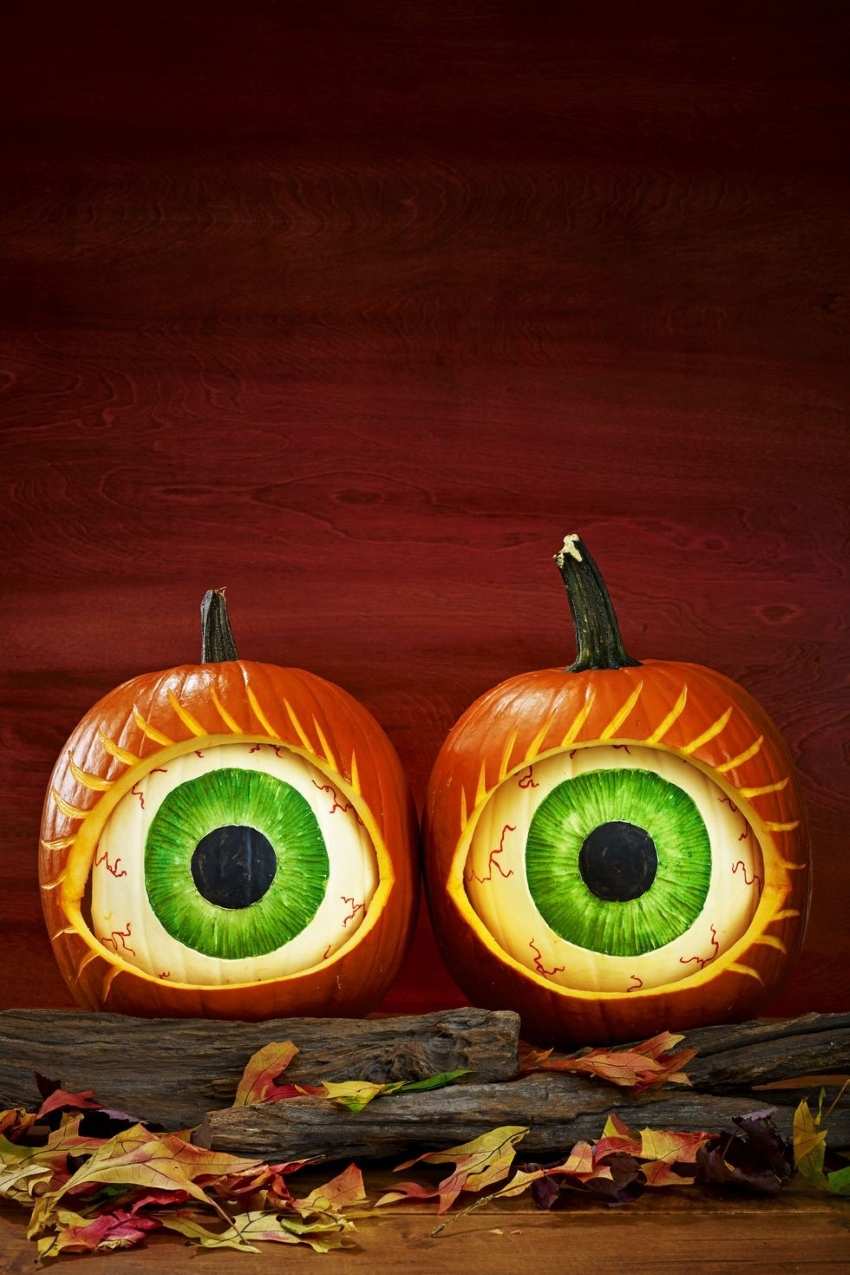
Spooky Eyes
Simply paint an eyeball on a white pumpkin and put it inside a larger orange pumpkin to get a simple spooky eye design.
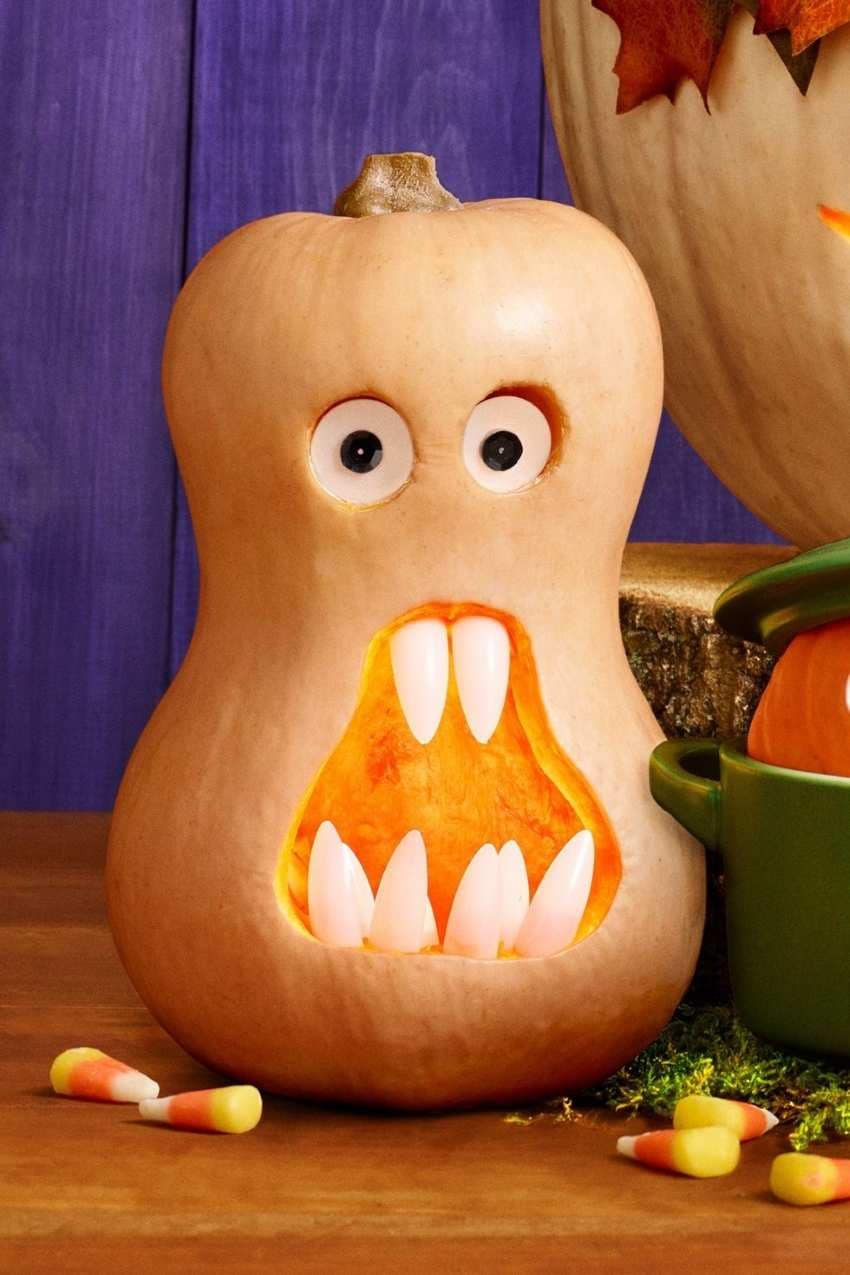
Pumpkin Teeth
Another easy-to-make design is to use artificial nails as teeth for your pumpkin. Push them to the edges of the mouth randomly, and use buttons or coins for eyeballs.
2. White Pumpkin Designs
Here are a few white pumpkin design ideas for Halloween:
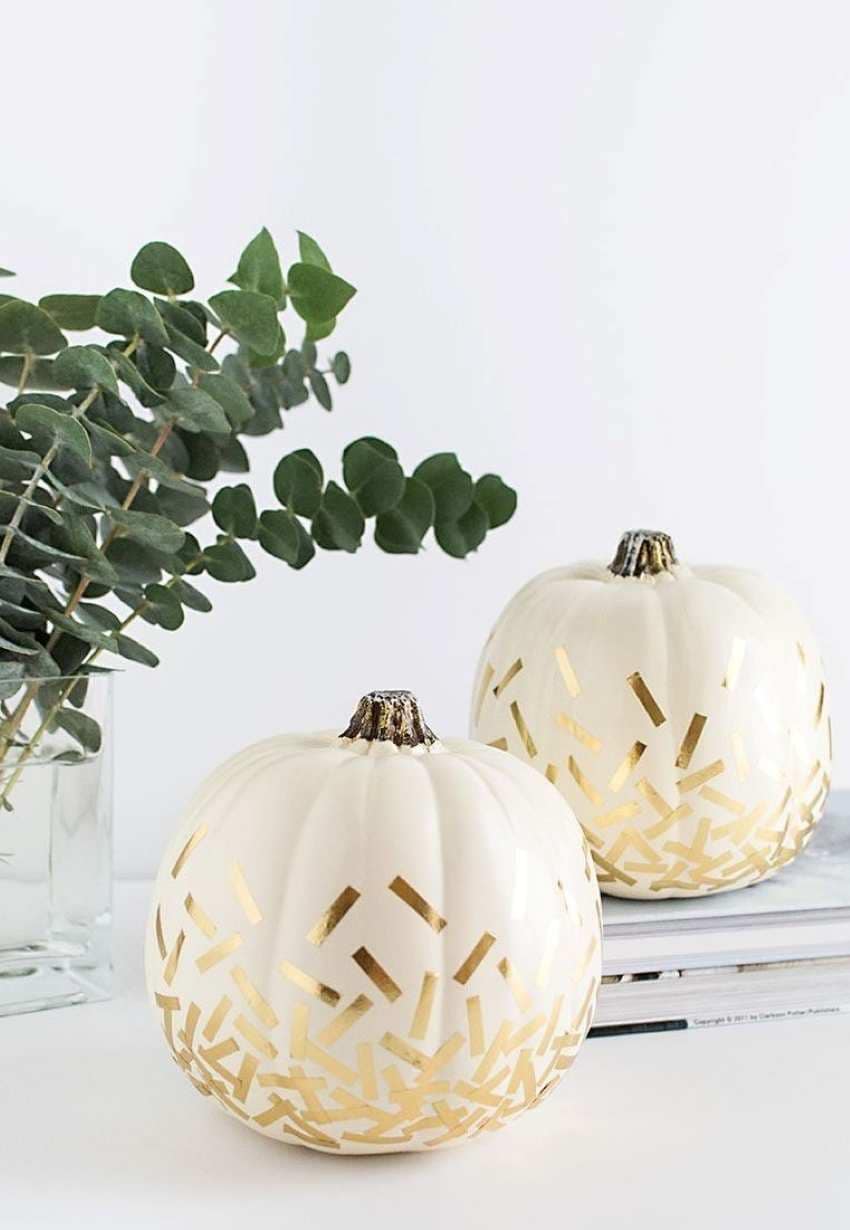
A Pop of Confetti
You can use golden markers to resemble a burst of confetti, which works great with white pumpkins.
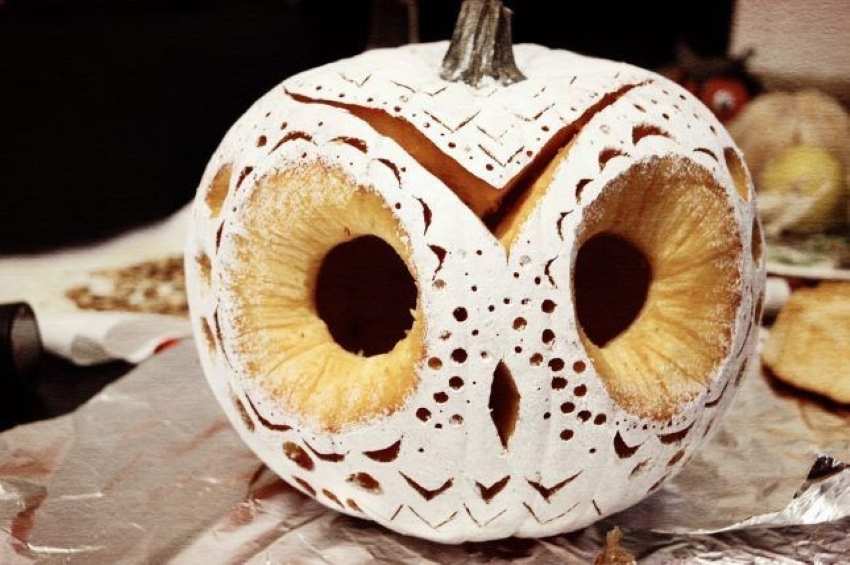
Owl Pumpkin
You can use this idea to carve an owl onto your white pumpkin, which will be unique and remarkable for viewers.
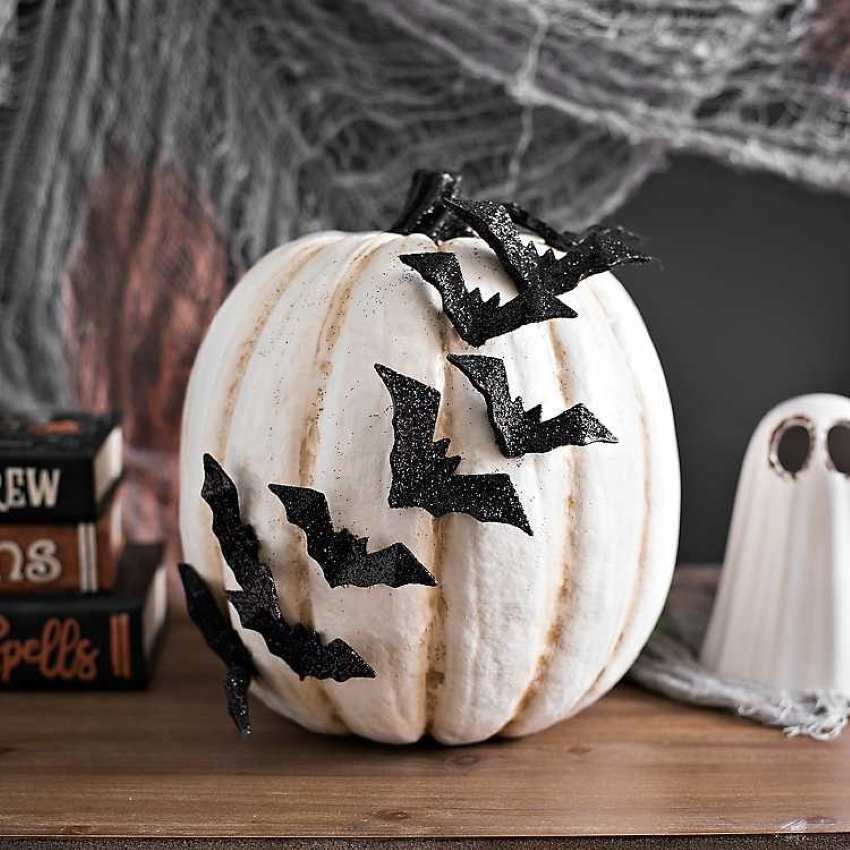
Pumpkin with Flying Bats
Simply cut out bats on black paper, and paste them on your white pumpkin to get a dramatic flying bats effect.
3. Skeleton Pumpkin Designs
If you are looking for some cool and edgy skeleton pumpkin design ideas, the following might interest you:
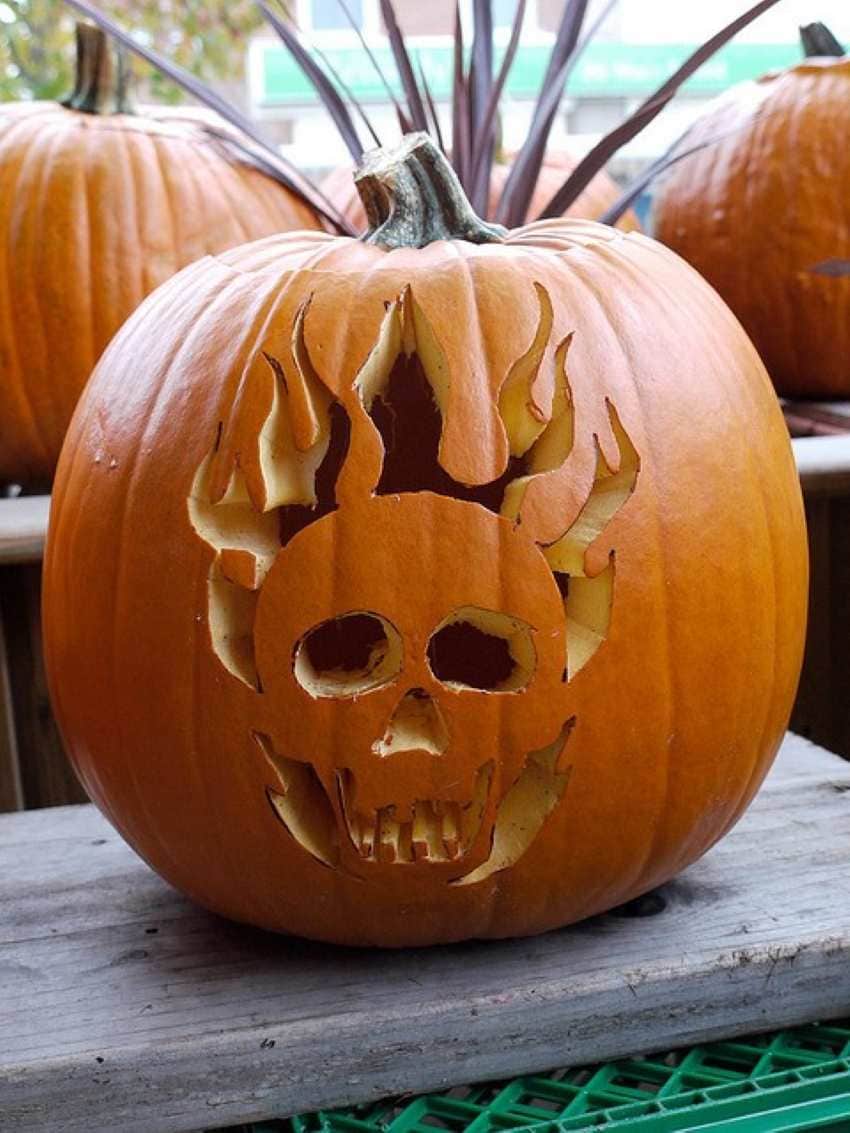
Skull on Fire
Taking inspiration from the Ghost Rider, you can carve a skull on your pumpkin, surrounded by spooky rising flames.
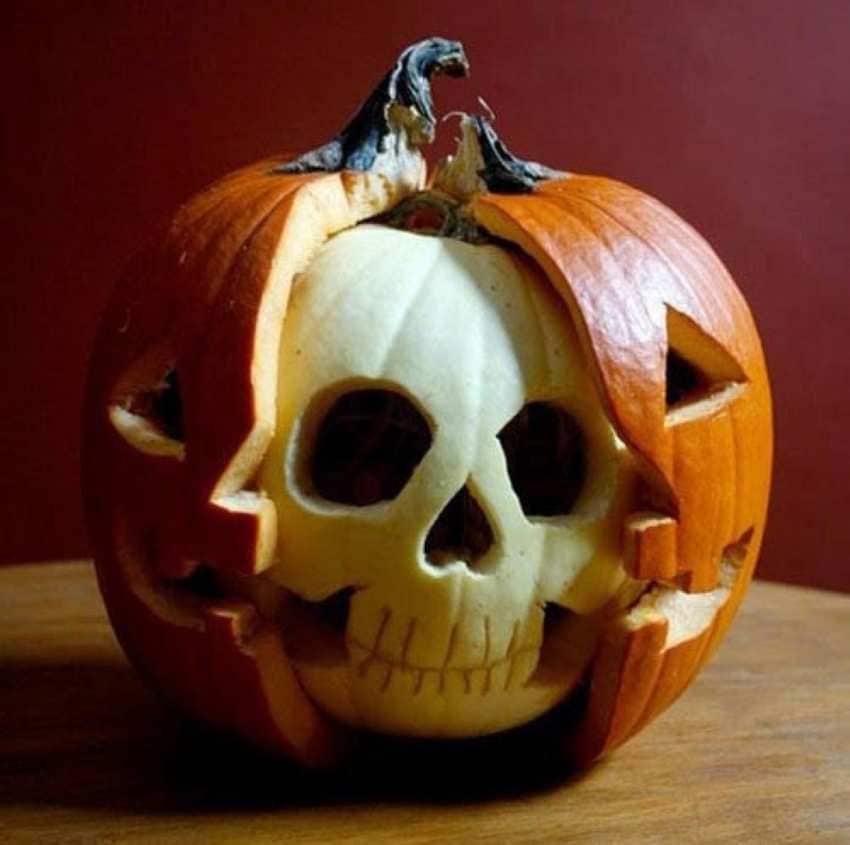
Face Reveal Skull
Carve a skull on a white pumpkin and a face on an orange one. Then slice the orange pumpkin from the middle and place the white one inside it, so it looks like the face is being torn. Spooky and scary through and through.
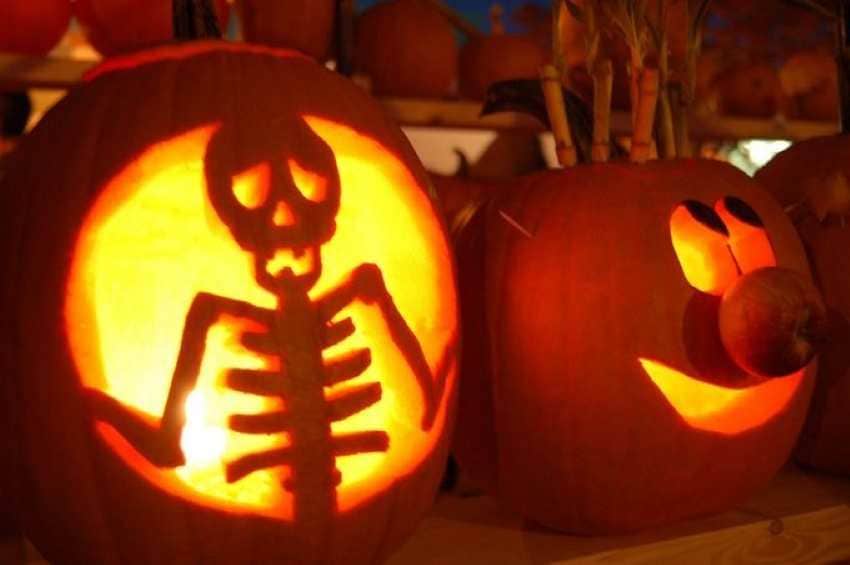
Worried Skeleton
You can use this skeleton pumpkin design to carve a skeleton looking flabbergasted in your pumpkin, with a ribcage and spine.
Conclusion:
Carved pumpkins have now become a trademark for Halloween. With the above-mentioned guide at your hand, you can now hope of winning a pumpkin carving contest in your neighborhood or at least impress the viewers with your meticulous pumpkin carving skills. You can also try the easy Halloween pumpkin designs to get some inspiration.