
Want to make sure your document is not pirated or used by others without your permission? Or want your documents to feature your brand and help get the word out? Either way, the best method to do so is to create watermark in Word for your document.
Watermarks are text pieces or images that are laid on a document page, images, or videos. There are multiple uses for watermarks. They can help you protect copyrights so that your content cannot be used or modified in any way. You can also use watermarks for marketing your brand or simply specify the status of a document.
Whatever reason you might be interested in, getting a watermark right is an evident need. For your assistance, here is everything you need to know about watermarks, including how to make watermark in Word and how to customize your watermark.
In this article
Part 1 How to Add a Watermark from Built-in Templates
Microsoft Word is a great place to create and compile documents. The software contains all the basic tools you might need to create, edit, and modify a document in any way. And if you are looking for a way to add a watermark to your document, Microsoft Word has got you covered on that front.
The process to add watermark to Word online is essentially hassle-free and only involves a few simple steps. If done right, you can add a watermark to your document in no time.
Word contains a few templates that can be used to create a default watermark on your document pages. These default text watermarks include words like “Confidential“, “Do Not Copy“, “Draft“, “Sample“, ASAP“ and “Urgent“. Here are the steps to write "Draft" on a Word document:
Step 1:
Create your document on MS Word. By default, all the pages of your document will feature the watermark once you have added it.
Step 2:
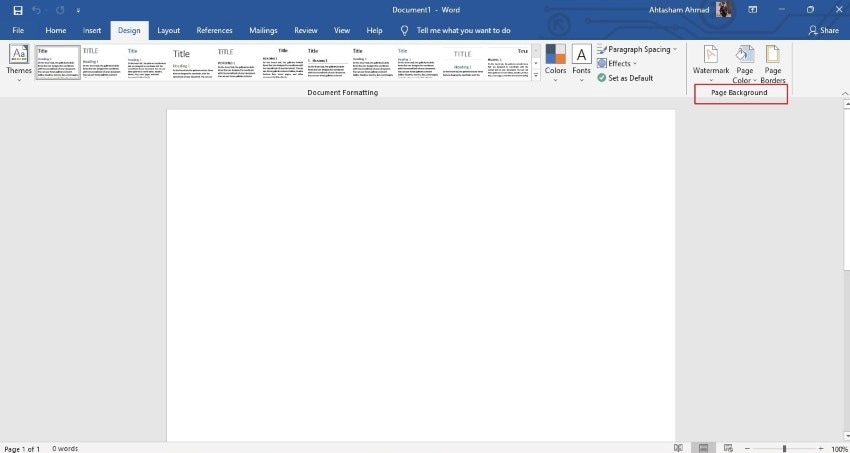
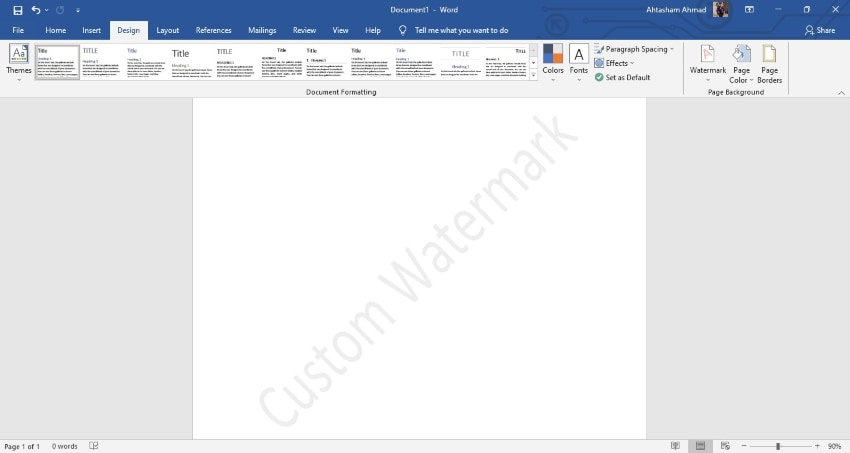
Go to the “Design“ tab from the main menu on top of the screen.
Step 3:
On the far-right corner of the screen, you will see a group of tools in the “Page Background“ section.
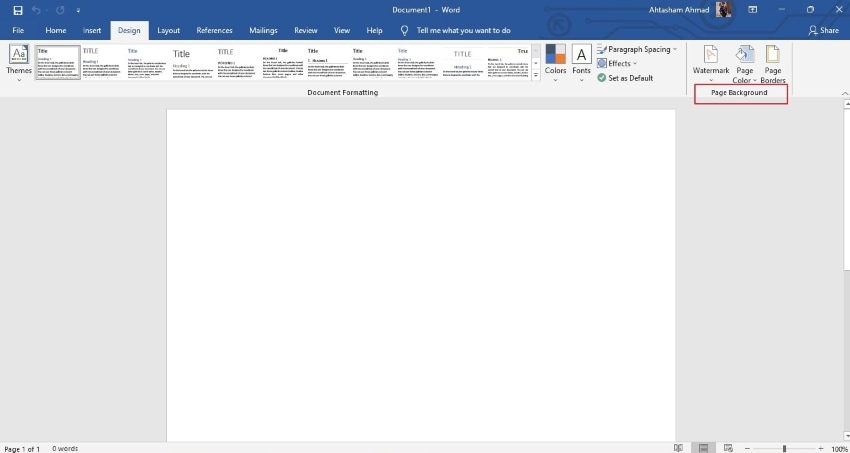
Step 4:
Locate the “Watermark“ button from the group and tap on it.

Step 5:
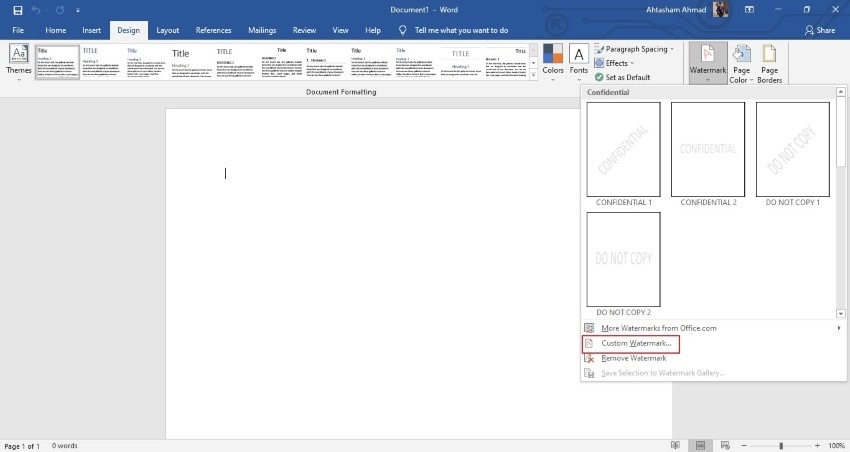
You will now see a drop-down menu with the default watermark templates. You can scroll down in the gallery for more options. Each option will have two orientations: a horizontal layout and a slightly tilted one.

Step 6:
To add one of these default watermarks to your document, simply click on your chosen one. You will immediately see the watermark on your pages, visible in a grey tone underneath your text.

Part 2 How to Create Text Watermark on Word
Now you know how to add a watermark from the built-in templates in Word. But what if you want to add a text that is other than the six pre-determined options in Word?
Luckily, Microsoft allows its users to create a custom watermark in Word. You can insert a text piece of your own and even customize the way it appears in the document. You can change its color, opacity, size, layout, etc., easily. Here are the detailed steps for that:
Step 1:
Create a document in word, or open a previously created document. Before inserting a watermark, make sure that your document is in the print layout. You can check this under the “Views“ section of the View tab.

Step 2:
Now navigate to the “Design“ tab and locate the “Page Background“ section in the top right corner.
Step 3:
Click on the “Watermark“ button. From the drop-down menu, locate and select the “Custom Watermark“ option.

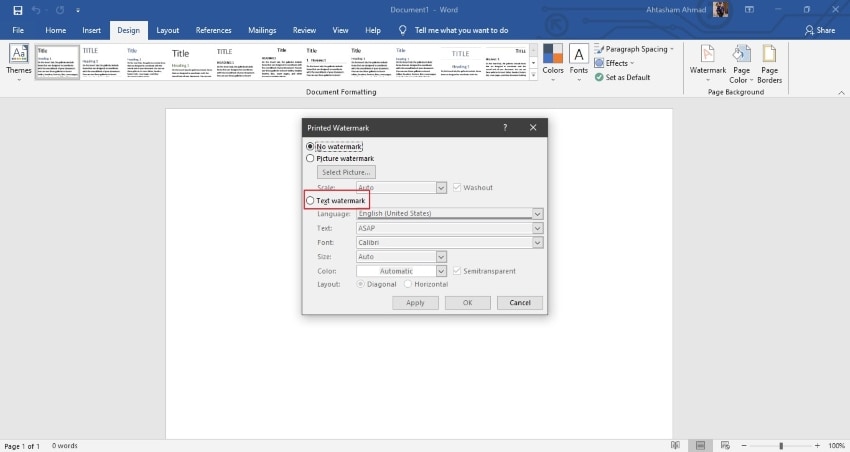
Step 4:
A “Printed Watermark“ dialogue box will pop up. Check the “Text Watermark“ option from the list.
Step 5:
You can now type in your text in front of the “Text“ option. You can also customize various aspects of your watermark, including the font, size, color, layout, and transparency, etc.
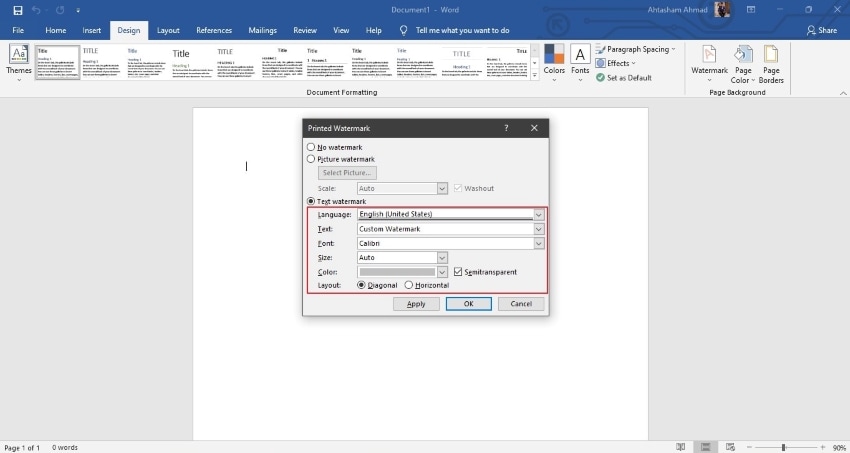
Step 6:
Finally, click on the “Apply“ or “OK“ button to add your customized watermark on all the pages of your document, which will be visible on the document behind words.
Part 3 How to Create Image Watermark on Word
Let‘s say you don‘t want a text watermark on your document. Instead, you would like the logo of your business or your university‘s mascot as a watermark. You can make a picture watermark in Word by following the steps mentioned below:
Step 1:
Open your document in MS word on your computer. Ensure that the "Print Layout" is selected under the "View" tab. Otherwise, you will not be able to see the watermark.

Step 2:
Open the “Design“ tab and from the far-right corner, under the “Page Background“ group, select the “Watermark“ option.

Step 3:
From the drop-down menu, choose "Custom Watermark."
Step 4:
Select the box next to " Picture Watermark " from the "Printed Watermark" dialogue box that pops up.
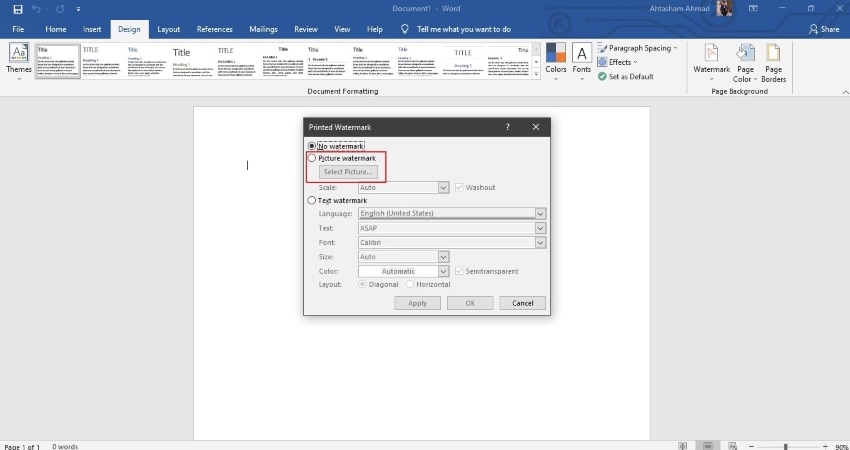
Step 5:
Click on "Select Picture" to open the "Insert Picture" dialogue box."
Step 6:
Now select the location of the image you want to insert, and browse to the location. Select your desired image and tap on "Insert."
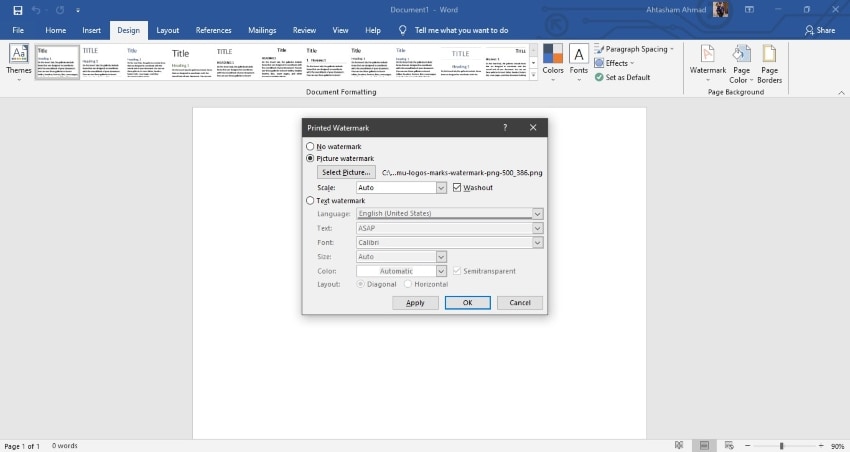
Step 7:
Now from the “Printed Watermark“ dialogue box, click on “OK“ to apply changes and add watermark to all pages in Word.

Conclusion:
The importance of watermarks in a document cannot be denied. Watermarks are great tools and are useful in multiple scenarios. That is why learning to effectively create watermark in Word for your documents is essential.
The process of adding a watermark to a document is fairly simple and does not require much effort. By following the steps mentioned above, you can easily add watermark to Word document online. You can also easily create a custom watermark in Word and add it to your whole document or just a few pages.